
Pizza photography
There’s a unique magic to a beautifully photographed pizza. It’s not just food; it’s a story of melted cheese, a crisp, blistered crust, and vibrant toppings, all captured in a single frame. As a chef turned food photographer, I’ve learned that photographing pizza is its own special discipline.
It’s a race against time as the cheese sets and the steam fades, but with the right setup and a few pro techniques, you can consistently create images that make people instantly hungry. This guide will walk you through the exact process I use in my studio, transforming your pizza from simply cooked to spectacularly captured.
- Consistent Results: Follow this repeatable framework to get great shots every time, regardless of the pizza you’re shooting.
- Minimal Gear Needed: Achieve professional-looking photos using natural light and a few simple, affordable tools.
- Fast-Paced Workflow: Designed to work with the fleeting “perfect moment” of a hot pizza, so you can shoot quickly and still eat while it’s warm.
- High Visual Impact: Learn how to emphasize texture, shine, and color to create truly mouthwatering images.
- Skill Building: These foundational food photography principles apply to shooting any dish, making you a more versatile photographer.
Ingredients You’ll Need
Let’s gather our visual ingredients. Just like a recipe, great food photography relies on having the right components ready to go before the “cooking” (shooting) begins. The most important element is, of course, the pizza itself.
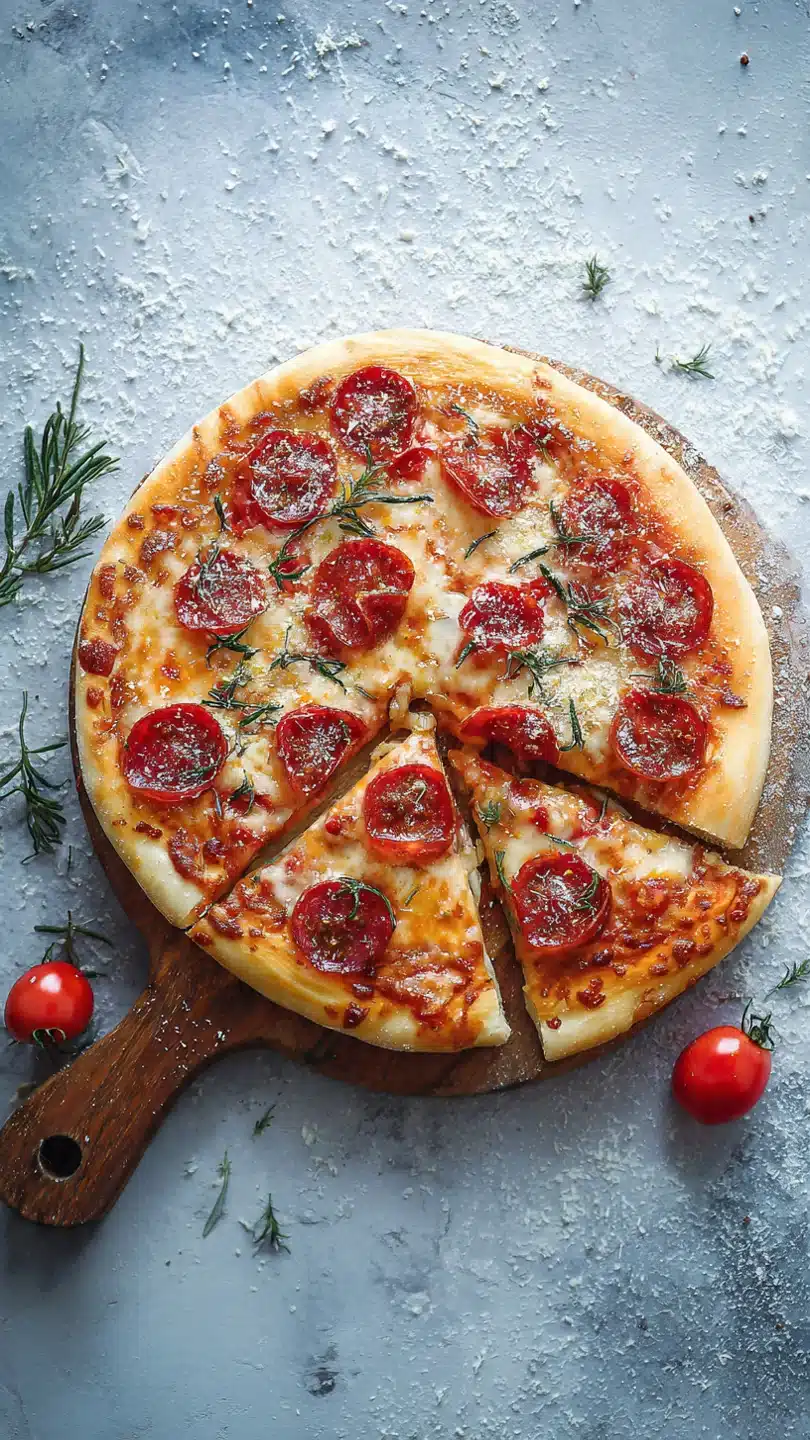
Aim for one with high-contrast toppings—think bright green basil against red sauce, or white mozzarella with dark pepperoni. This visual pop is crucial. Have your garnishes like fresh herbs, chili flakes, or a drizzle of high-quality olive oil on standby.
Your lighting “ingredient” is soft, diffused light, which you can get from a north-facing window or a simple photography softbox. Finally, your surfaces and props—a weathered wooden board, a simple ceramic plate, a linen napkin—act as the supporting cast, adding texture and context without stealing the show.

Note: You’ll find the complete list of ingredients, along with their exact measurements, in the printable recipe card at the bottom of this post.
Kitchen Equipment Needed
Your essential tool is your camera, whether it’s a DSLR, mirrorless, or a modern smartphone with a good portrait mode. A tripod is non-negotiable; it eliminates camera shake, allows for precise composition, and lets you use slower shutter speeds in lower light. You’ll need a five-in-one reflector (use the white or silver side) or a large piece of white foam board to bounce light into shadows.
For styling, have a small spray bottle filled with water (or a water-and-glycerin mix for longer-lasting droplets), a clean pastry brush for applying oils, and a pair of tweezers for placing tiny garnishes with precision.
How to Make Pizza Photography Recipe
Step 1: The Strategic Setup
Before the pizza even comes out of the oven, your stage must be set. Position your main light source—a large window or softbox—at about a 45-degree angle to where the pizza will sit. This side lighting creates beautiful depth and highlights texture on the crust and cheese.
Place your reflector on the opposite side to fill in harsh shadows. Choose your background surface and arrange simple props. Trust me, fumbling with props while your perfect pizza cools is the number one cause of missed shots.
Set your camera on the tripod, frame your empty shot, and adjust your settings. I recommend Aperture Priority mode with an aperture between f/2.8 and f/5.6 to keep the whole pizza in focus while gently blurring the background.
Step 2: Styling for the Story
As soon as the pizza is baked, the clock starts. Transfer it to your pre-styled set. If you want an “action” shot, use a wooden peel.
For a more intimate feel, cut a slice and place it slightly askew on a plate. Tuck in a corner of a linen napkin for a casual, inviting texture. Now, add life: place a cold beverage with “condensation” (a quick spritz from your bottle) in the background.
Scatter a few fresh basil leaves or a pinch of semolina flour around the board. Believe me, these tiny details build a narrative. Finally, use your pastry brush to lightly dab olive oil on the cheese and crust edges—this adds irresistible shine and highlights.
Step 3: Mastering the Angles
This is where you find your hero shot. Start with the classic overhead or “flat lay.” It’s great for showing the full topping distribution and symmetry. Next, lower your camera to table level, at about a 45-degree angle.
This is the most popular food photography angle as it feels like you’re sitting at the table, and it brilliantly showcases the pizza’s height and layers. Tip from me: get dynamic. Shoot a slice being lifted, focusing on that glorious cheese pull.
Use a narrow depth of field (like f/2.8) to make the stretching cheese sharp while the background melts away. Shoot quickly, as the cheese only stays stretchy for a minute or two.
Step 4: Working with Light and Shadow
Don’t just rely on your initial setup; actively sculpt the light. Observe how it falls on the cheese bubbles and crust ridges. Use your reflector to bounce light into the shadowy side of a meatball or mushroom, revealing its form.
If the light is too harsh from a direct sunbeam, diffuse it with a sheer white curtain. The goal is soft, dimensional light that makes the food look tactile and real, not flat and flash-lit. This attention to light quality is what separates amateur snaps from professional photos.
Step 5: The Final Adjustments and Shoot
Take a breath and review your frame. Is a rogue piece of onion drawing the eye away? Use your tweezers to remove it.
Is the napkin creating a distracting line? Adjust it. Spritz the drink again for fresh droplets.
Now, take your shots. Use a timer or a remote shutter to avoid touching the camera. Bracket your exposures—take one shot as metered, one slightly brighter, one slightly darker.
You can blend these later for perfect dynamic range. Finally, step back and admire your work. You’ve just captured the essence of a perfect pizza.
- The Steam Illusion: Real steam vanishes in seconds. For a consistent “hot out of the oven” look, use a vape pen (with just vegetable glycerin) or a special food steamer held just out of frame. A single, wispy trail is more believable than a cloud.
- The Cheese Pull Secret: For that iconic stretch, use a blend of cheeses. Low-moisture mozzarella provides structure, while a bit of provolone or cheddar adds elasticity. Pull the slice slowly and have your camera set to continuous shooting mode to capture the perfect moment.
- Color Correction: Pizza can often photograph too orange. In editing, slightly reduce the orange saturation and luminance, and boost the reds in the sauce and the greens in any herbs for a fresher, more appetizing palette.
- Lens Choice: A 50mm or 100mm macro lens is ideal. They provide a natural perspective and allow you to get close for detail shots of bubbling cheese or charred crust without distortion.
Recipe Variations & Customizations
- The Dark & Moody Look: Use a single, directional light source (like a window with the rest of the room dark), a dark slate or wood background, and darker props. Boost contrast and shadows in editing for a dramatic, rustic feel.
- The Bright & Airy Aesthetic: Use a white foam core board as both a surface and a reflector to bounce light everywhere. Overexpose your shot by +1 stop and keep your props minimal and white or pastel for a clean, modern look.
- Action-Shot Focus: For shots of pizza being made, like stretching dough or adding toppings, use a faster shutter speed (1/250 sec or higher) to freeze motion. A slightly wider angle lens (35mm) can help include the cook’s hands and environment for context.
- Minimalist Detail: Isolate a single, perfect ingredient. Focus on a single basil leaf on melted cheese, a pepperoni cup filled with oil, or the crackle of the crust. Use a macro lens and a very shallow depth of field (f/2.8).
- Lifestyle Context: Place the pizza in a real scene—on a picnic blanket, at a crowded dinner table with hands reaching in, or as part of a full Italian feast. This tells a broader story and connects with viewers emotionally.
What to Serve With This Recipe
Your photo’s “supporting cast” should complement the pizza’s story. A frosty glass of beer with condensation, a simple side salad in a wooden bowl, or a small board with olives and almonds add context without competing. For a breakfast pizza, include a coffee mug.
For a spicy pizza, a glass of milk can be a humorous and practical prop. When planning a full blog post or menu, these photos pair perfectly with your actual pizza recipe, a guide to making pizza dough, or a roundup of the best wines for pizza night.
Storage & Make-Ahead Instructions
- The Pizza Itself: For photography, pizza is always best fresh. If you must stage ahead, par-bake the crust, add cold toppings, and then run it under a broiler for 60-90 seconds just before shooting to melt the cheese without overcooking the base.
- Digital Files: Always shoot in RAW format if your camera allows. This preserves maximum data for editing. Store original RAW files on an external hard drive and edited JPEGs in a cloud service.
- Prop Kits: Keep a dedicated box or shelf for your food photography props—boards, plates, napkins, utensils. This saves massive setup time and ensures a consistent style across your work.
Frequently Asked Questions
Q: Can I use a smartphone for professional pizza photos?
Absolutely. Use the portrait mode to simulate a shallow depth of field. Tap on the screen to set focus on the cheese or a key topping.
Use a simple clip-on lens for better macro shots, and always clean your lens before shooting.
Q: How do I get the cheese to look so shiny and moist?
The shine comes from fats reflecting light. Immediately after the pizza comes out of the oven, use a pastry brush to apply a very thin layer of olive oil or even a light brushing of warmed honey (for a golden glow) specifically to the cheese surfaces.
Q: My pizza photos look flat. What am I missing?
Flatness is usually a lighting issue. You need side lighting to create shadows that define shape. Move your light source from directly overhead to the side.
Also, get off the overhead angle—shoot from the side to show height and layers.
Q: What’s the best backdrop for pizza?
Textured, neutral backdrops work best. Reclaimed wood, marble, slate, or a simple rustic ceramic tile provide interest without distracting from the food. Avoid busy patterns or neon colors.
Q: How do I style a whole pizza versus a slice?
A whole pizza is a statement; style it simply with a cutter nearby and maybe some scattered flour. A slice is more intimate—style it on a plate with a napkin and a bite taken out (use a knife to make a clean “bite” mark) to invite the viewer in.
Q: How important is photo editing?
Editing is the final, crucial step. Basic adjustments like increasing exposure slightly, boosting contrast, adjusting white balance (so the crust looks white, not yellow), and sharpening details are essential. Use tools like Lightroom or even free mobile apps like Snapseed.
Q: How do I create a realistic cheese pull?
Use the cheese blend mentioned earlier. As you lift the slice, use a fork or a hidden skewer underneath to gently guide and support the cheese strands, creating a longer, more photogenic pull. Shoot in burst mode.
Final Thoughts
Photographing pizza is a delightful challenge that blends culinary timing with artistic vision. It teaches you to see food not just as a meal, but as a composition of light, texture, and color. By mastering these fundamentals—setting your stage in advance, harnessing soft light, styling with intention, and shooting from compelling angles—you’ll be able to capture images that do justice to that glorious combination of dough, sauce, and cheese.
Remember, the best food photography makes the viewer taste the image. So, bake your favorite pizza, set up your camera, and start practicing. I’d love to see your creations—tag me on social media with your cheesy, crispy masterpieces.
Now, go capture that slice!
Pizza Photography Setup
Ingredients
Equipment
Method
- Prepare your pizza and all styling elements while it’s hot. Position your primary light source (a large window or softbox) at a 45-degree angle to your set. Use a reflector or white foam board on the opposite side to bounce light and fill in shadows. Set your camera to Aperture Priority mode and choose an aperture between f/2.8 and f/5.6 to keep the pizza sharp while softly blurring the background.
- Style the pizza on your chosen surface. Use a wooden peel for an action shot, or place a slice on a simple, contrasting plate. Tuck in a corner of a linen napkin for texture. Add a cold drink with condensation (use a spritzer) and a small bowl of chili flakes or fresh herbs in the background. Lightly brush the crust and cheese with olive oil using a pastry brush to enhance shine.


