
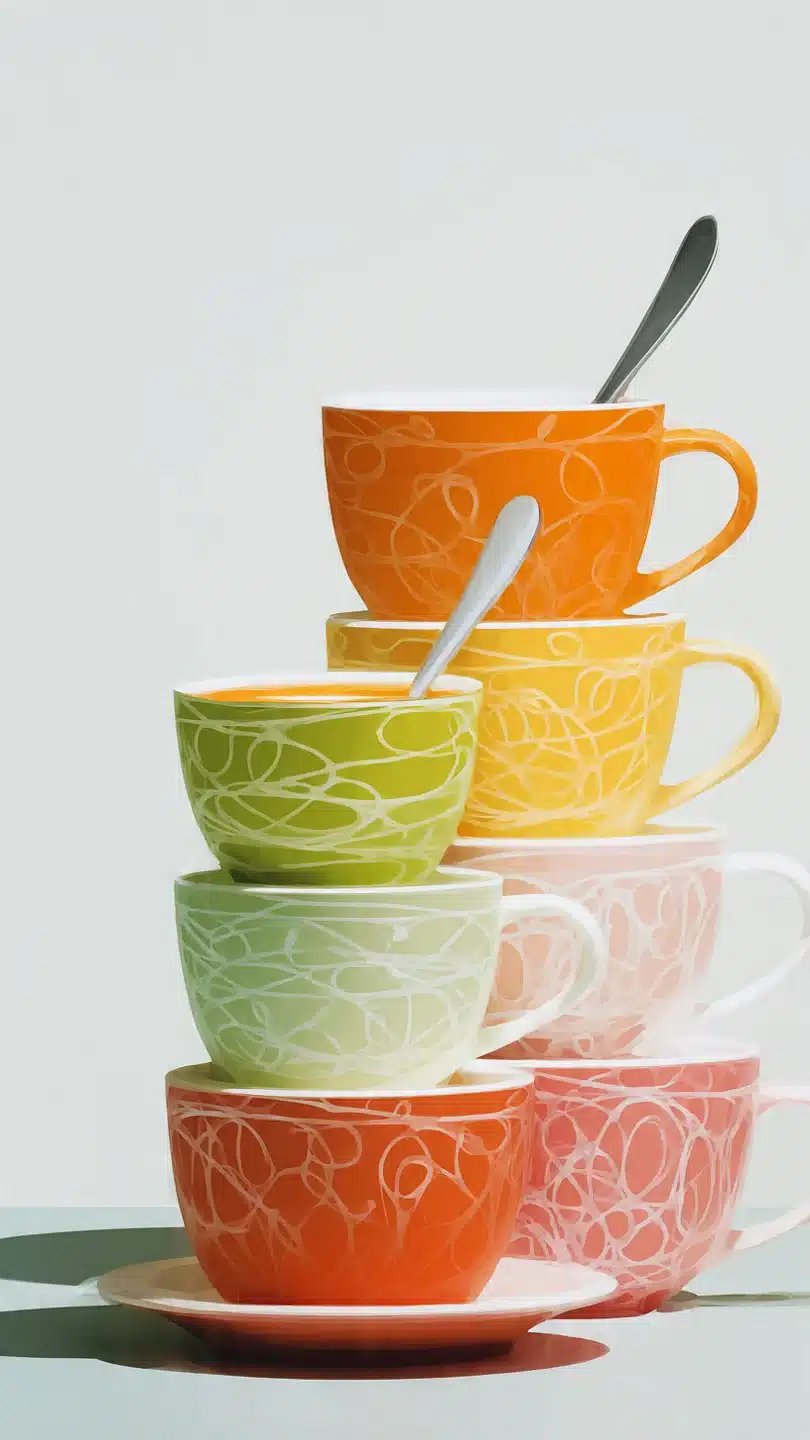
soup cups
There’s a particular kind of kitchen satisfaction that comes not from a perfectly seared steak or a towering layer cake, but from solving a real, everyday problem. For me, that problem was the 12:30 PM weekday hunger panic—standing in front of the fridge, wishing for something warm, nourishing, and fast. That’s where soup cups come in.
Forget the expensive, sodium-packed versions from the store. A homemade soup cup is a promise to your future self: a complete, healthy lunch, frozen in time, waiting for nothing more than a splash of hot water. As a chef who has prepped thousands of meals, I can tell you the genius is in the layering.
It’s a simple technique that keeps textures perfect and flavors bright, transforming pantry staples into a steaming bowl of comfort in minutes. Let me show you how to build your own.
This method is a game-changer for anyone who values convenience without compromising on quality.
- Meal Prep Perfected: Spend 15 minutes on a Sunday to secure a month of stress-free lunches. It’s the ultimate payoff for a tiny bit of planning.
- Endlessly Customizable: Start with the formula, then raid your pantry. Swap beans, change grains, use different spices—it’s a template for creativity that never gets boring.
- Zero Food Waste: Use up that half-bag of spinach, the last scoop of quinoa, or those canned goods languishing in the back of the cupboard. Every jar is a clean-out-the-fridge opportunity.
- Portable & Sturdy: These jars are your lunchbox. They travel perfectly from freezer to bag to desk without spills, and you eat right out of them.
- Health in a Jar: You control the salt, the quality of the broth, and the abundance of vegetables. It’s a nutrient-dense meal that fuels your afternoon.
- Budget-Friendly: Significantly cheaper than store-bought soups or takeout, leveraging inexpensive, shelf-stable ingredients.
Ingredients You’ll Need
- Let’s gather our ingredients—this is where the magic of simplicity shines. You’re essentially building a flavorful, textured soup from the bottom up. The key is using ingredients that are dry or well-drained, and that can withstand freezing and then “cook” with just hot liquid.
You’ll need a base grain, a protein, some vegetables, and flavor boosters. For the recipe below, we’re making an Italian-inspired version with quinoa and white beans, but this is merely a starting point.
- Quinoa or Orzo: These small grains or pastas cook quickly in hot liquid. Quinoa adds protein and a nutty flavor, while orzo provides a comforting, rice-like texture.
- Canned Black Beans or Chickpeas: The hearty, protein-packed foundation. Rinsing and draining them thoroughly is non-negotiable to prevent a slimy texture.
- Frozen Corn or Pees: Frozen veggies are a meal-prep hero—they’re pre-chopped, retain their nutrients, and add pops of sweetness and color. Do not thaw.
- Fresh Spinach or Kale: Leafy greens wilt beautifully and add vital nutrients. Tear or chop them so they pack down easily in the jar.
- Sun-Dried Tomatoes or Roasted Red Peppers: These are your flavor powerhouses. They’re intensely savory and won’t get watery like fresh tomatoes.
- Grated Parmesan or Nutritional Yeast: This optional layer adds a salty, umami depth. For a vegan version, nutritional yeast is fantastic.
- Dried Italian Seasoning & Garlic Powder: Dried herbs are essential here; fresh herbs would turn black and slimy in the freezer. The garlic powder distributes flavor evenly.
- Low-Sodium Broth (for serving): This is your cooking liquid. Choose a good-quality vegetable or chicken broth, as its flavor will become the soup’s backbone.

Note: You’ll find the complete list of ingredients, along with their exact measurements, in the printable recipe card at the bottom of this post.
Kitchen Equipment Needed
You don’t need any fancy gear for this recipe. The right jar is the most important tool.
- Wide-Mouth Mason Jars (16-ounce size): The wide mouth is crucial for getting ingredients in and out easily, and for being able to stir and eat directly from the jar. Regular mouth jars are frustrating to layer.
- Measuring Cups and Spoons: For consistent layering so each jar is a complete meal.
- Can Opener and Colander: For accessing and properly rinsing your beans.
- Kettle or Saucepan: For boiling the water or broth when it’s time to eat.
- Masking Tape and Marker: Trust me, you’ll want to label these. “Mystery Jar” is less appealing than “Tuscan White Bean & Kale.”
How to Make Soup Cups Recipe
Step 1: Jar Prep & The Sturdy Base
Gather your clean, dry mason jars. Any residual moisture can lead to ice crystals. Start every jar with your chosen grain.
I add 2 tablespoons of uncooked quinoa to the very bottom. This isn’t just random—it creates a dry, stable foundation that prevents lighter ingredients like spinach from sinking and getting crushed. The grain will be at the bottom, closest to the hottest water, ensuring it cooks through properly.
Tip from me: If using pasta like orzo, you can use a scant ¼ cup, as it expands more than quinoa.
Step 2: Building Body with Protein & Veg
Now, divide your rinsed beans and frozen corn evenly among the jars, adding them on top of the grain. Gently tap or shake the jar to settle this layer. This middle stratum provides the heartiness and substance.
The frozen corn will stay pristine in the freezer and will cook instantly when hot broth hits it. Believe me, the contrast between the creamy beans and the sweet, crisp corn is one of the great textural joys of this soup.
Step 3: Adding Greens & Flavor Layers
Here’s where you pack in the nutrition and big flavor. Take a generous handful of chopped spinach or kale and press it down into the jar with your fingers. It will seem like a lot, but it wilts down to nothing.
On top of the greens, add your sun-dried tomatoes and cheese (if using). Finally, sprinkle the dried seasonings—Italian seasoning, garlic powder, and a pinch of red pepper flakes—right on top. This strategic order means the flavorful, oily tomatoes and seasonings will be the first thing the hot liquid touches, creating an instant, aromatic broth as it trickles down.
Step 4: Sealing, Labeling & Freezing
Screw the lids on tightly. Now, grab your masking tape and marker. Write the date and a brief description (e.g., “Quinoa White Bean – 11/15”).
This simple step, born from professional kitchen organization, saves future confusion. Place the jars upright in the freezer. They need to freeze solid with the layers intact, so avoid tilting them for the first few hours.
They’ll keep beautifully for up to 3 months.
Step 5: The Magic Moment and Serve
When hunger strikes, take a jar straight from the freezer (no need to thaw). Remove the lid and pour in freshly boiled broth or water until the jar is nearly full, leaving about an inch of space for stirring. Immediately stir everything thoroughly with a fork to distribute the heat and seasonings.
Loosely place the lid back on top to contain the heat and let it sit for 5-7 minutes. This is the passive cooking time where the quinoa softens and the greens wilt. After a final stir, it’s ready.
Step back and admire your handiwork—a steaming, homemade soup, created in minutes, enjoyed right from the jar.
A few chef-level insights will guarantee perfect soup cups every single time.
- The Dryness Rule: Every ingredient you layer must be as dry as possible. Pat rinsed beans with a paper towel, ensure sun-dried tomatoes aren’t swimming in oil, and use frozen veggies straight from the bag. Any added moisture will turn to ice and can make grains mushy.
- Broth Temperature is Key: The water or broth must be at a rolling boil when you pour it in. Hot water from the tap or even just-boiled water that has sat for a few minutes won’t have enough thermal mass to properly “cook” the grains and beans. It must be piping hot.
- The Packing Order is Science: Heaviest, driest ingredients on the bottom (grains), medium-weight in the middle (beans, corn), and lightest, most flavorful on top (greens, seasonings). This ensures even hydration and prevents the delicate greens from being pulverized.
- Avoid These Ingredients: Fresh onions, garlic, mushrooms, or zucchini have too high a water content and will become slimy and potentially spoil faster. Always opt for their dried, powdered, or freeze-dried counterparts for flavor.
Recipe Variations
- The template is your playground. Here are some of my favorite tested variations.
- Hearty Mexican Fiesta: Use 2 tbsp uncooked instant rice, black beans, frozen corn, a spoonful of salsa (drained well), taco seasoning, and top with a sprinkle of shredded cheddar. Serve with hot water and a squeeze of lime.
- Cozy Chicken Noodle: Layer ¼ cup uncooked fine egg noodles, ¼ cup shredded cooked chicken, dried carrots and peas (from a soup mix), a pinch of dried thyme and poultry seasoning. Use chicken broth to serve.
- Creamy Tomato Lentil: Start with 2 tbsp red lentils, add a spoonful of tomato paste (freeze it in a teaspoon-sized dollop first), dried basil, and a Parmesan rind (a chef’s secret!). The lentils break down to create a creamy texture.
- Thai-Inspired Coconut Curry: Layer rice noodles, edamame, freeze-dried peas, a teaspoon of red curry paste, and a sprinkle of dried lemongrass. When serving, use a mix of boiling water and a splash of canned coconut milk.
- Simple Miso Ginger: Add 1 tbsp white miso paste to the top of the jar (don’t mix in while layering), with shredded cabbage, tofu cubes (patted very dry), dried shiitake mushrooms, and grated ginger. Pour hot (not boiling) water over to preserve the miso’s probiotics.
What to Serve With This Recipe
While a soup cup is a complete meal in a jar, it pairs beautifully with simple sides for a more substantial lunch or light dinner. A crisp side salad with a tangy vinaigrette cuts through the soup’s richness perfectly. For a heartier touch, serve with a slice of crusty whole-grain bread or a few whole-grain crackers for dipping.
These soups are ideal for office lunches, after-school snacks for kids, or a quick dinner when you’re home late. They’re also fantastic for hiking or camping—just pack a frozen jar in your cooler, and it will thaw by mealtime, ready for hot water from your camp stove.
Storage & Make-Ahead Instructions
- This recipe is the make-ahead instruction! Once assembled, your soup cups will stay fresh in the freezer for 2-3 months. Store them upright to maintain the layers. Do not refrigerate the assembled dry jars, as the fresh spinach will wilt and spoil. The only “make-ahead” tip is to cook a batch of chicken or roast vegetables to use in your variations. To reheat: There is no reheating of the jar itself. You are cooking it for the first time with the hot liquid. If you somehow have leftover prepared soup, transfer it to a different container and refrigerate for up to 2 days. Reheat in a saucepan, as microwaving in the glass jar can cause thermal shock and break the glass.
Frequently Asked Questions
Q: Can I use fresh garlic and onion instead of powder?
A: I don’t recommend it. Fresh alliums have a high water content that doesn’t freeze well in this dry environment, leading to potential textural issues and faster spoilage. Garlic and onion powder are concentrated, shelf-stable, and distribute flavor evenly.
Q: My grain is still a bit crunchy after 7 minutes. What happened?
A: This usually means the liquid wasn’t hot enough. Ensure it’s at a vigorous boil. Also, larger grains like barley or wheat berries won’t work in this method.
Stick to quick-cooking options like quinoa, couscous, instant rice, or small pasta. Let it sit for 2-3 more minutes, stirring once more.
Q: Can I make these with bone broth?
A: Absolutely! Bone broth is an excellent, nutrient-rich choice. Just be mindful of its gelling property when cold.
When you pour hot water over the jar ingredients, the frozen temperature of the ingredients will quickly chill the broth. This is fine—it will still be hot enough to cook—but it may appear slightly gelatinous until fully mixed and warmed through.
Q: Are the jars safe to go from freezer to boiling water?
A: No. Do not pour boiling liquid into a jar at room temperature, and never place a frozen jar directly into hot water or the microwave. The thermal shock will crack the glass. The safe method is: frozen jar, remove lid, add boiling liquid to the jar.
The frozen ingredients gradually temper the glass.
Q: Can I use broth instead of water when assembling the jars?
A: Never add liquid before freezing. Water expands when frozen and will crack the glass jar. The liquid is always added at the time of serving.
Q: How do I prevent the seasoning from all sticking to the lid?
A: This is a common issue! After adding the final layer of dried herbs/spices, place a small square of parchment paper or wax paper directly on top of the ingredients before screwing on the lid. This creates a barrier.
Q: Can I double the recipe in one jar?
A: I wouldn’t. The 16-ounce jar is designed so the hot liquid can properly penetrate and heat all the layers. Overfilling will result in a cold, uncooked center.
If you want a larger portion, simply make two jars.
Final Thoughts
After years in professional kitchens, the recipes I value most are those that give people their time and peace of mind back. These soup cups do exactly that. They transform the often-choreographic task of making lunch into a simple, grab-and-go solution that doesn’t sacrifice an ounce of flavor or nutrition.
This isn’t just a recipe; it’s a system—a flexible, forgiving formula that empowers you to feed yourself well, even on the busiest of days. I encourage you to make your first batch this weekend. Play with the flavors, use what you have, and stash a few jars in the freezer.
Next week, when lunchtime rolls around, you’ll have a warm, satisfying meal waiting, and you’ll understand why this is one of the most valuable techniques in my home kitchen arsenal. Give it a try, and let me know your favorite combination in the comments below!
Customizable Freezer Soup Cups
Ingredients
Equipment
Method
- Gather four 16-ounce wide-mouth mason jars with lids. Trust me, the wide mouth is essential for easy layering and eating. Ensure they are completely clean and dry to prevent freezer burn or ice crystals from forming on your ingredients.
- Start your layers with the heaviest, driest ingredients at the bottom. Add 2 tablespoons of uncooked quinoa or pasta to each jar first. This creates a stable base. Next, divide the beans and frozen corn evenly among the jars. Patting each layer flat helps fit more in.
- Now add your leafy greens. Pack the spinach or kale down gently with your fingers—it will wilt significantly when hot liquid is added. Top with the sun-dried tomatoes, cheese (if using), and all dried seasonings (Italian seasoning, garlic powder, pepper flakes).
- Seal the jars tightly with their lids. Label each jar with the contents and date using a piece of masking tape and a marker. Believe me, you will forget what’s in there in three weeks. Place the jars upright in the freezer for up to 3 months.
- To serve, remove the lid from a frozen jar. Pour in hot broth or boiling water until the jar is nearly full, leaving about an inch of space. Stir well, re-cover loosely, and let it sit for 5-7 minutes until the grains are cooked and the greens are wilted. Enjoy directly from the jar.


