
Pan pizza
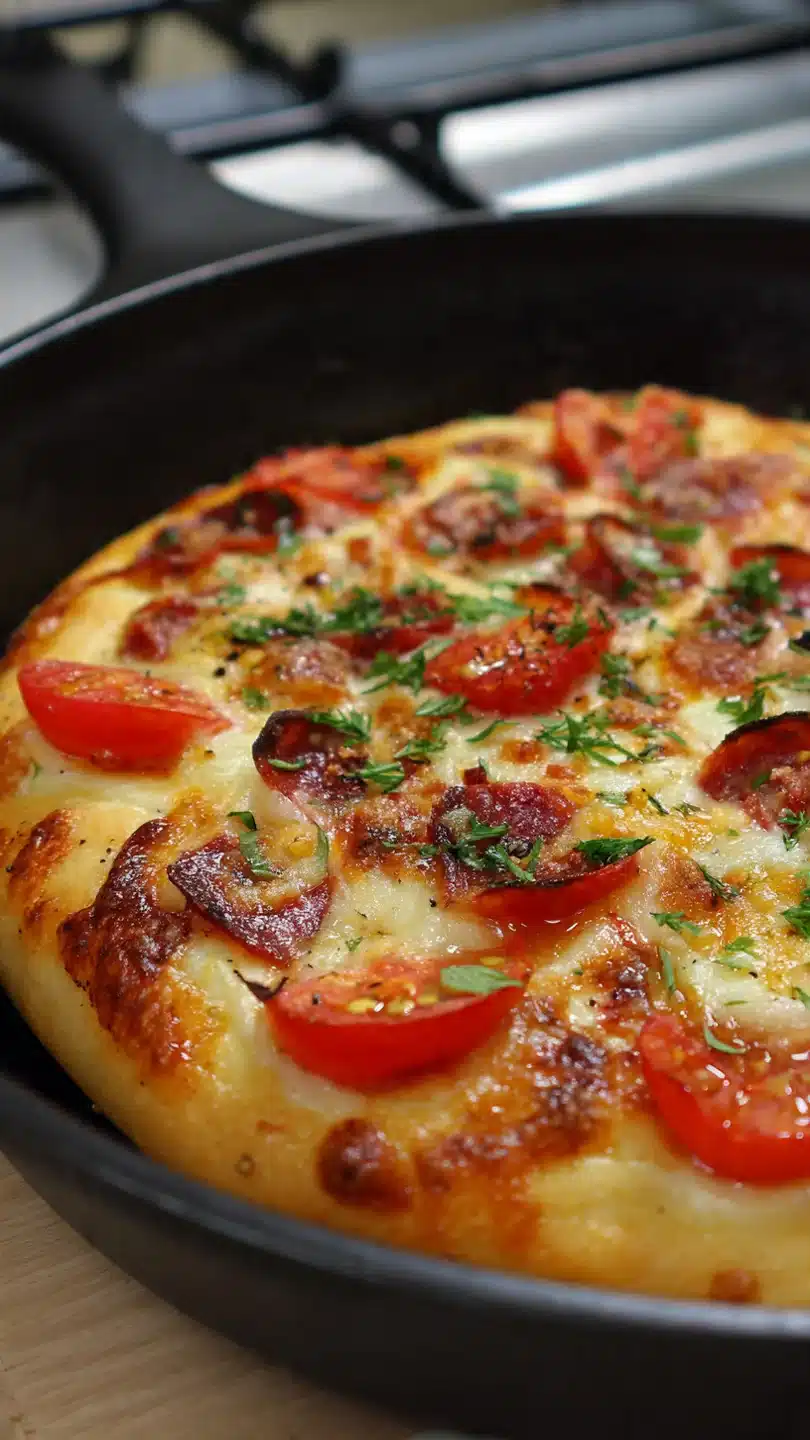
There’s something deeply satisfying about the sound a slice of pan pizza makes when you lift it from the skillet—a definitive, crispy scrape that promises a perfect contrast of textures. Forget delivery; this is the homemade pizza you’ve been craving. It combines a thick, golden, crispy-bottomed crust with a soft, chewy interior, all topped with bubbly cheese and your favorite toppings.
As a chef who has made thousands of pizzas, I can tell you this cast iron method is the most forgiving and consistently delicious way to achieve professional results at home. Let’s make pizza night legendary.
- No Special Skills Required: This dough is incredibly forgiving. No stretching or tossing needed—you simply press it into the pan.
- Superior Crispy Crust: Baking in a preheated cast iron skillet creates an unbeatable, crispy, golden-brown bottom that rivals any pizzeria.
- Fast and Flexible: From bowl to table in under 30 minutes of active time, with endless topping possibilities for every taste.
- Consistently Perfect Results: Unlike baking on a stone, the cast iron provides even, intense heat that guarantees a perfect cook every single time.
- One-Pan Wonder: You mix, proof, and bake the pizza all in the same skillet, meaning minimal cleanup.
- Crowd-Pleasing Comfort Food: It’s the ultimate shareable meal that delights both kids and adults alike.
Ingredients You’ll Need
Let’s gather our ingredients—this is where simple pantry staples transform into something magical. The beauty of this recipe lies in the quality of a few key components. Using bread flour instead of all-purpose gives the crust a better structure and chew, thanks to its higher protein content.
For the cheese, please trust me on this: shred a block of low-moisture, whole-milk mozzarella yourself. The pre-shredded stuff contains anti-caking agents that prevent it from melting into that perfect, gooey pool we all love. A simple, high-quality jarred pizza sauce works wonderfully, or use my quick tip: mix canned crushed tomatoes with a pinch of salt, dried oregano, and a drizzle of olive oil.
[INGREDIENTIMAGEPLACEHOLDER]Kitchen Equipment Needed
The star here is a 10-inch cast iron skillet. Its ability to retain and distribute intense heat is what creates that signature crispy crust. You’ll also need a large mixing bowl, a wooden spoon or spatula for mixing, and reliable oven mitts—that skillet gets extremely hot.
A pizza cutter makes clean slicing easy, but a sharp chef’s knife works just fine. That’s truly it. You don’t need a pizza peel, a baking stone, or any other specialty gear.
How to Make Pan Pizza Recipe
Step 1: Mix and Knead the Dough
In your large bowl, whisk together the dry ingredients to evenly distribute the yeast and salt. Make a well and pour in the warm water and olive oil. Tip from me: the water should feel warm to the touch, like bathwater, not hot.
Too hot will kill the yeast. Mix until a shaggy dough forms, then turn it out onto a lightly floured surface. Knead for just 5-7 minutes until smooth.
Believe me, this short knead develops enough gluten for a perfect chew without being tough.
Step 2: The First Rest and Pan Prep
Place your smooth dough ball into a lightly oiled bowl, cover it with a damp towel or plastic wrap, and let it rest for 10 minutes. This brief autolyse allows the flour to fully hydrate, making the dough easier to shape. Meanwhile, pour 2 tablespoons of olive oil into your cast iron skillet, swirling to coat the bottom and sides generously.
This oil is not just for preventing sticking; it’s what will fry the bottom of the crust to crispy perfection.
Step 3: Shape and Proof in the Pan
After the short rest, the dough will be more relaxed. Place it in the center of the oiled skillet. Now, using your fingertips, gently press and dimple the dough, pushing it outward until it mostly covers the skillet bottom.
Don’t force it to the edges yet. Cover the skillet and let the dough rise for 20 minutes. This proofing right in the pan is a game-changer—it allows the dough to absorb some of the oil and start forming those lovely air bubbles.
Step 4: Final Shape, Top, and Bake
Preheat your oven to a blistering 500°F (260°C). After the rise, the dough will be puffy. Now, use your fingers to gently press it all the way to the edges.
Spread the sauce evenly, leaving a small border. Top with your shredded cheese and other toppings. Trust me, less is more here; overloading will steam the crust.
Carefully place the heavy skillet in the hot oven. The sizzle you hear is the sound of success starting.
Step 5: The Grand Finale and Serve
Bake for 12-14 minutes. You’re looking for a deeply golden-brown crust and bubbly, slightly browned cheese. The high heat is non-negotiable for the right texture.
Using oven mitts, remove the incredibly hot skillet. Immediately sprinkle with grated Parmesan. Let it cool in the pan for just 2-3 minutes—this lets the cheese set slightly and makes slicing cleaner.
Slide a spatula underneath to loosen, transfer to a board, slice, and serve. Step back and admire your handiwork.
- Temperature is Everything: Ensure your oven is fully preheated. I keep an oven thermometer inside to verify accuracy. A 500°F (260°C) oven is crucial for the quick, intense heat that sets the crust.
- The Right Flour: While all-purpose flour works, bread flour (with 12-14% protein) creates more gluten, yielding a crust with a better chew and structure that can support the toppings.
- Don’t Skip the Skillet Preheat: For an even crispier bottom, you can place your empty cast iron skillet in the oven during preheating. Carefully add oil and shape the dough in the hot pan (be very careful!) for a truly fried crust.
- Cheese Science: Low-moisture, whole-milk mozzarella has the ideal fat-to-moisture ratio for melting into creamy pools without releasing grease. Always shred it yourself.
- The Finger Test: When pressing your dough, use your fingertips, not your palms. This creates little dimples that trap sauce and cheese and prevent large air bubbles from forming under the toppings.
Recipe Variations
- Breakfast Pizza: Top the shaped dough with cooked breakfast sausage, shredded cheddar, and crack a few eggs on top before baking. Bake until egg whites are set.
- White Garlic Pizza: Swap the red sauce for a layer of ricotta cheese mixed with minced garlic, olive oil, and black pepper. Top with mozzarella and fresh spinach.
- Margherita Style: After baking, top with fresh basil leaves, slices of fresh mozzarella (bocconcini), and a drizzle of high-quality extra virgin olive oil.
- Barbecue Chicken: Use barbecue sauce as the base, top with shredded cooked chicken, red onion, mozzarella, and cilantro after baking.
- Veggie Supreme: Load up with sautéed mushrooms, bell peppers, red onion, black olives, and artichoke hearts. Add veggies after the cheese to prevent sogginess.
- Deep Dish Style: Use a 9-inch cake pan or springform for taller sides. Par-bake the crust with just sauce for 10 minutes, then add cheese and toppings and finish baking.
What to Serve With This Recipe
This pan pizza is a hearty main course all on its own. For a complete Italian-inspired feast, start with a simple arugula salad dressed with lemon juice, olive oil, and shaved Parmesan to cut through the richness. A side of garlic knots made from extra dough is always a crowd-pleaser.
For beverage pairings, a crisp lager or pilsner complements the savory flavors beautifully, or a Chianti if you prefer wine. It’s perfect for casual Friday nights, game day gatherings, or a fun, interactive family cooking project where everyone can choose their own topping quadrant.
Storage & Make-Ahead Instructions
- Storage: Leftover pizza can be stored in an airtight container in the refrigerator for up to 3 days. The crust will soften but still be tasty.
- Reheating: To recrisp the crust, reheat slices in a dry skillet over medium-low heat for 3-4 minutes until warm and the bottom is crisp again. The microwave will make it soggy.
- Freezing: You can freeze baked pizza slices. Let cool completely, wrap individually in plastic wrap, and place in a freezer bag for up to 2 months. Reheat from frozen in a 350°F (175°C) oven or toaster oven.
- Make-Ahead Dough: The dough can be made 1 day ahead. After kneading, place it in an oiled bowl, cover tightly, and refrigerate. Let it sit at room temperature for 1 hour before shaping.
Frequently Asked Questions
Q: Can I use all-purpose flour instead of bread flour?
Yes, you can. The crust will be slightly less chewy and a bit more tender, but it will still be delicious. The recipe is very adaptable.
Q: My dough isn’t stretching to the edges. What should I do?
Don’t force it. If it keeps snapping back, let it rest for another 5-10 minutes covered. The gluten relaxes over time, making it much easier to shape.
Q: Why is my pizza crust soggy in the middle?
This is usually caused by too many wet toppings (like fresh vegetables) or too much sauce. Stick to about 1/2 cup of sauce and sauté watery veggies like mushrooms before adding them.
Q: Can I make this without a cast iron skillet?
A heavy oven-safe stainless steel skillet or a well-seasoned carbon steel pan will work. Avoid non-stick skillets as they often have temperature limits below 500°F.
Q: How do I know when the pizza is done baking?
Look for visual cues: the cheese should be fully melted with some golden spots, and the exposed crust edges should be a deep golden brown. You can also peek underneath with a spatula to check for crispiness.
Q: Is instant yeast the same as active dry yeast?
They are similar but not identical. Instant yeast can be mixed directly with dry ingredients. If using active dry yeast, you should dissolve it in the warm water with the sugar for 5 minutes before adding to the flour.
Q: Can I double this recipe?
Absolutely. Simply double all ingredients and use two 10-inch skillets. You may need to rotate the pans in the oven halfway through baking for even browning.
Final Thoughts
This pan pizza recipe is a testament to how simple techniques and the right tool—a trusty cast iron skillet—can create something extraordinary at home. It delivers everything you want from a great pizza: texture contrast, big flavor, and that deeply satisfying feeling of making it yourself. I’ve served this to seasoned chefs and picky toddlers alike, and it never fails to impress.
The process is straightforward, the results are consistent, and the customization is endless. I encourage you to make it your own. Try the variations, find your favorite topping combo, and most importantly, share it with people you love.
Once you hear that crispy scrape of the first slice being lifted, you’ll know you’ve found a keeper. Happy cooking!
Ultimate Cast Iron Pan Pizza
Ingredients
Equipment
Method
- In a large bowl, whisk together the bread flour, instant yeast, sugar, and salt. Make a well in the center and pour in the warm water and 2 tablespoons of olive oil. Mix with a wooden spoon until a shaggy dough forms, then turn out onto a lightly floured surface.
- Knead the dough for 5-7 minutes by hand until it becomes smooth and elastic. It should pass the windowpane test: gently stretch a small piece; if you can see light through it without tearing, it’s ready. Place in a lightly oiled bowl, cover, and let rest for 10 minutes.
- Pour 2 tablespoons of olive oil into a 10-inch cast iron skillet, coating the bottom and sides. Place the rested dough in the center and gently press it outwards with your fingertips until it mostly covers the bottom. Don’t worry if it doesn’t reach the edges yet. Cover and let rise for 20 minutes.
- Preheat your oven to 500°F (260°C). After the dough has risen, use your fingers to press it all the way to the edges of the skillet. It should be an even layer. Spread the pizza sauce evenly over the dough, leaving a 1/2-inch border. Top with the shredded mozzarella and pepperoni.
- Bake on the middle rack for 12-14 minutes, until the crust is deep golden brown and the cheese is bubbly and slightly spotted. Trust me, the high heat is key for that signature crispy bottom. Remove from the oven and immediately sprinkle with grated Parmesan.


