
Strawberry sheet cake
There’s something undeniably special about a classic sheet cake. It’s the dessert you bring to potlucks, serve at birthday parties, and share with neighbors—unpretentious, reliably delicious, and meant for sharing. This strawberry sheet cake, however, elevates the humble classic.
It’s not just a white cake with pink frosting. We’re weaving real strawberry flavor into every layer, from a moist, tender crumb swirled with fresh berry puree to a tangy, not-too-sweet cream cheese frosting that perfectly complements the fruit. The result is a stunning, crowd-pleasing dessert that tastes like a slice of summer, yet is straightforward enough for any home baker to master.
Let’s bake a cake that will have everyone asking for the recipe.
This strawberry sheet cake is designed for success and satisfaction. Here’s why it’s about to become your new go-to dessert.
- One-Bowl Simplicity: The cake batter comes together in minutes with minimal cleanup, using a straightforward mixing method that guarantees a tender texture.
- Authentic Strawberry Flavor: We use a dual approach—fresh berries swirled into the batter and reduced into a puree for the frosting—avoiding artificial extracts for a genuine, fruity taste.
- Perfect for Crowds: Baked in a standard 9×13 pan, this cake yields 15 generous servings, making it the ideal choice for parties, picnics, and family gatherings.
- Make-Ahead Friendly: Both the cake and the frosting can be prepared a day in advance, taking the stress out of entertaining and allowing the flavors to meld beautifully.
- Balanced Sweetness: The tangy cream cheese frosting cuts through the cake’s sweetness, creating a sophisticated flavor profile that appeals to both kids and adults.
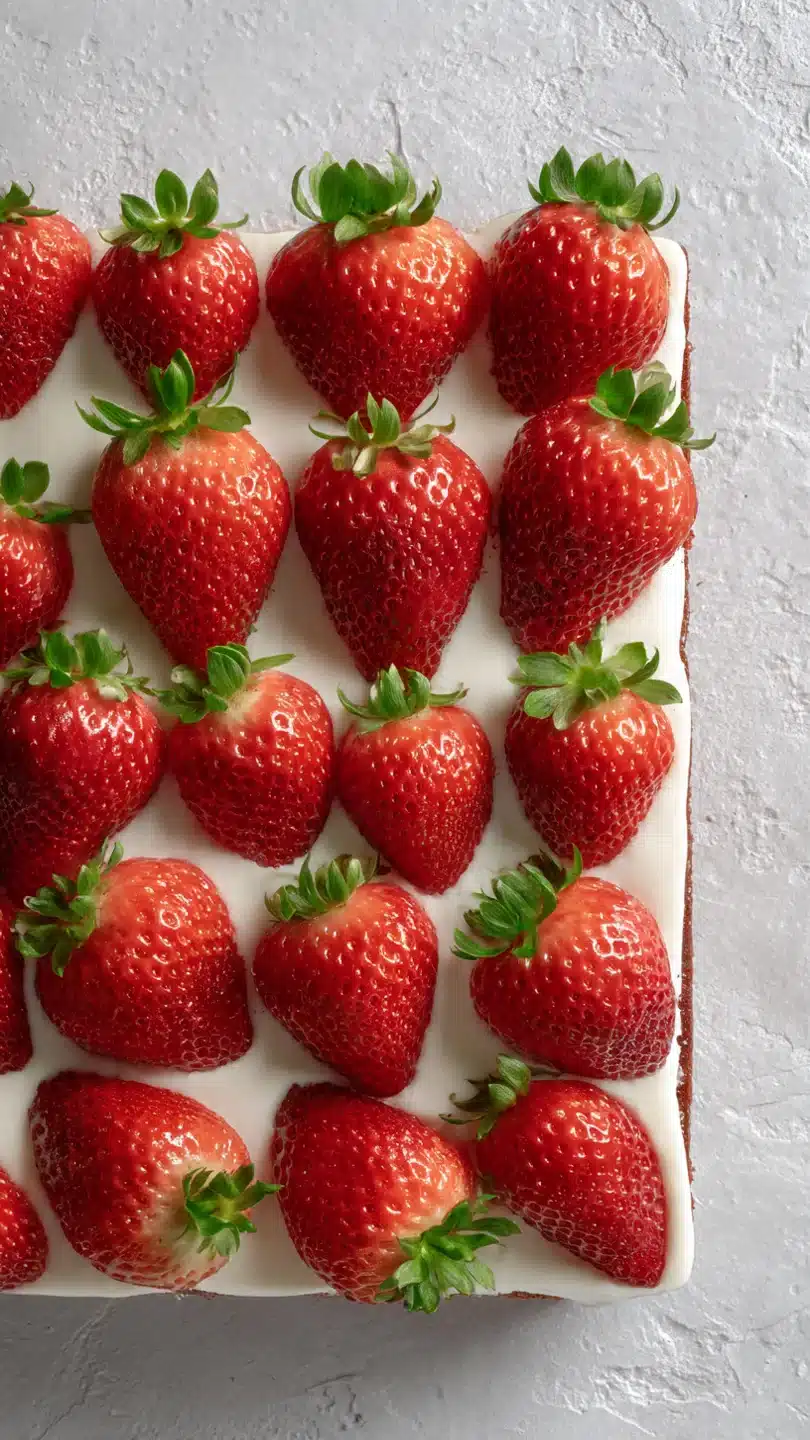
- Visually Impressive: With its pink marbled interior and pretty strawberry garnish, this cake looks like it came from a bakery, yet it’s made in your own kitchen.
Ingredients You’ll Need
- Let’s gather our ingredients. This recipe uses pantry staples and fresh strawberries to create something truly magical. The key is quality and proper preparation—room temperature ingredients blend more smoothly, and fresh, ripe berries provide the best flavor. If your strawberries aren’t super sweet, don’t worry; the recipe accounts for that. I recommend using a kitchen scale for the flour for ultimate accuracy, but the spoon-and-level method works perfectly too.
- All-Purpose Flour: The foundation of our cake. Spooning and leveling (or weighing to 240g) prevents a dense, dry cake.
- Granulated Sugar: Provides sweetness and helps create a tender crumb by interacting with the butter and eggs.
- Leaveners: A combination of baking powder and baking soda gives our cake a reliable, even rise.
- Salt: A critical flavor enhancer that balances all the sweetness.
- Unsalted Butter: Melted butter simplifies mixing and contributes to a moist texture with rich flavor.
- Buttermilk: My secret weapon for tenderness and a slight tang. No buttermilk? See the FAQ for an easy substitute.
- Eggs: Use large eggs at room temperature for better emulsion and a lighter cake structure.
- Pure Vanilla Extract: Use the real stuff for the best background flavor.
- Fresh Strawberries: The star! You’ll need about a pint. We’ll use them chopped in the batter and pureed for the frosting. Look for berries that are fragrant and bright red.
- Cornstarch: This is our trick to prevent the strawberry swirl from sinking to the bottom of the pan. It thickens the berry juices just enough.

Note: You’ll find the complete list of ingredients, along with their exact measurements, in the printable recipe card at the bottom of this post.
Kitchen Equipment Needed
You don’t need any specialty tools for this recipe. A standard set of baking equipment is all that’s required to achieve perfect results.
- 9×13-inch Metal Baking Pan: Metal conducts heat evenly for consistent baking. Glass pans can cause the edges to over-bake before the center is done.
- Mixing Bowls: One large and one medium bowl for the dry and wet ingredients.
- Whisk and Rubber Spatula: For combining ingredients gently and scraping the bowl clean.
- Electric Mixer: A hand mixer or stand mixer is essential for making the light and fluffy cream cheese frosting.
- Wire Cooling Rack: Allows air to circulate around the cake, cooling it evenly and preventing a soggy bottom.
- Offset Spatula: While optional, this tool makes spreading frosting smoothly and creating decorative swirls incredibly easy.
- Fine Mesh Sieve: Helpful for dusting powdered sugar if you’re not making the frosting, or for sifting dry ingredients if you prefer.
How to Make Strawberry Sheet Cake Recipe
Step 1: Prep and Combine Dry Ingredients
Begin by preheating your oven to 350°F (175°C). This ensures a stable temperature for even baking. Grease and flour your 9×13-inch pan thoroughly, or line it with parchment paper leaving an overhang on two sides for foolproof removal.
In your large mixing bowl, whisk together the flour, sugar, baking powder, baking soda, and salt. Whisk for a good 30 seconds—this isn’t just mixing; it’s aerating the dry ingredients and ensuring the leaveners are evenly distributed, which is the first step to a uniform crumb. Trust me, this simple act makes a noticeable difference.
Step 2: Create the Wet Mixture
In your medium bowl, whisk the slightly cooled melted butter, room-temperature buttermilk, eggs, and vanilla extract. The key here is that the butter should be melted but not hot. If it’s too hot, it will cook the eggs when combined.
Whisk until the mixture is completely smooth and emulsified; you shouldn’t see any separate streaks of egg. This emulsion is what gives the cake its fine, tender texture. Now, pour this wet mixture into the bowl with the dry ingredients.
Step 3: Mix the Batter and Add the Strawberry Swirl
Using your rubber spatula, gently fold the wet and dry ingredients together. Stop folding when the last streaks of flour disappear. A few small lumps are perfectly fine—overmixing develops gluten, leading to a tough, rubbery cake.
Now, take about one-third of your chopped strawberries and mash them roughly with a fork. Toss them with the tablespoon of cornstarch. This little trick is a game-changer; the cornstarch thickens the berry juices so they suspend beautifully in the batter instead of sinking.
Gently fold this mixture into the batter just until you see a lovely marbled, pink swirl.
Step 4: Bake to Perfection
Pour the beautiful, swirled batter into your prepared pan and spread it evenly into the corners. Scatter the remaining chopped strawberries over the top—they’ll sink in slightly as the cake rises, creating little pockets of intense berry flavor. Place the pan in the center of your preheated oven.
Bake for 28 to 32 minutes. The cake is done when the top is springy to the touch and a toothpick inserted into the center comes out clean or with a few moist crumbs attached. Believe me, pulling it out at the right moment is crucial for moisture.
Step 5: Cool and Frost
This is the most important step for a pristine finish: let the cake cool completely in the pan on a wire rack. Frosting a warm cake is a recipe for a melted, soggy mess. Patience pays off.
While it cools, make the frosting. Beat 8 ounces of softened cream cheese and 1/2 cup of softened butter together until completely smooth. Gradually add 4 cups of powdered sugar, 1 teaspoon of vanilla, and 2-3 tablespoons of strawberry puree (made from blending a few extra berries).
Whip until light and fluffy. Once the cake is cool, spread the frosting over the top, create swirls with your spatula, garnish with fresh strawberry slices, and get ready for the compliments.
A few insights from my years in the kitchen will help you nail this recipe every single time.
- Room Temperature is Non-Negotiable: For both the cake and frosting, ingredients like eggs, buttermilk, cream cheese, and butter must be at room temperature (around 70°F). Cold ingredients don’t emulsify properly, leading to a dense cake or lumpy, greasy frosting. Tip from me: take them out of the fridge at least 45-60 minutes before you start.
- The Toothpick Test is Your Best Friend: Ovens vary. Start checking your cake at the 28-minute mark. The toothpick should have no wet batter on it. A few clinging, moist crumbs are ideal—it means the cake is perfectly baked and will remain moist.
- How to Hull Strawberries Quickly: Instead of cutting off the top, use a straw. Push it through the bottom of the strawberry up through the stem end. It removes the core cleanly in one motion, minimizing waste.
- Avoiding a Gummy Streak: When you fold in the cornstarch-coated strawberries, do it gently and stop as soon as you see the swirl. Over-folding can cause the cornstarch to over-activate and create a slightly gummy texture in those spots.
- Frosting Consistency: If your frosting seems too soft to spread, chill it in the refrigerator for 15-20 minutes. If it’s too thick, add a teaspoon of milk or more strawberry puree. You want it spreadable but not runny.
Recipe Variations
- This versatile recipe is a wonderful canvas for creativity. Here are some tested variations that work beautifully.
- Lemon-Strawberry: Add the zest of one lemon to the cake batter and use lemon juice instead of vanilla in the frosting for a bright, citrusy twist.
- Strawberry Shortcake Style: Skip the cream cheese frosting. Instead, top the cooled cake with a layer of sweetened whipped cream and fresh strawberry slices.
- Gluten-Free Adaptation: Substitute the all-purpose flour with a 1:1 gluten-free baking blend. I’ve had great success with brands that contain xanthan gum.
- Dairy-Free Version: Use plant-based butter and milk (soy or oat milk mixed with 1 tbsp vinegar to mimic buttermilk). For the frosting, use a dairy-free cream cheese alternative.
- Mixed Berry Bliss: Replace half the strawberries with an equal amount of raspberries or blueberries for a more complex berry flavor.
- Almond Accent: Substitute 1/2 teaspoon of the vanilla extract with pure almond extract in the cake batter for a delightful marzipan-like note.
- Cupcake Conversion: This batter makes fantastic cupcakes! Line a muffin tin, fill cups 2/3 full, and bake for 18-22 minutes. Yields about 24 cupcakes.
What to Serve With This Recipe
This strawberry sheet cake is a complete dessert on its own, but it can be part of a spectacular spread. For a summer barbecue or potluck, pair it with savory dishes like grilled chicken, potato salad, and fresh corn on the cob. The cake’s fruity flavor makes it an excellent ending to a brunch menu alongside quiche, fresh fruit salad, and mimosas.
For beverage pairings, it’s lovely with a glass of cold milk, a cup of coffee, a sparkling rosé, or even a sweet dessert wine like Moscato. If you’re serving it for a more formal occasion, a scoop of vanilla bean ice cream or a dollop of lightly sweetened whipped cream on the side elevates it beautifully. It’s the perfect dessert for Mother’s Day, Easter, Fourth of July, or any day that calls for a celebration.
Storage & Make-Ahead Instructions
- Proper storage ensures your cake stays fresh and delicious.
- Refrigerator Storage: Due to the cream cheese frosting, this cake must be stored in the refrigerator. Cover it tightly with plastic wrap or store it in an airtight container. It will keep for up to 4 days.
- Freezing Instructions: You can freeze the unfrosted cake layer for up to 2 months. Cool it completely, then wrap it tightly in two layers of plastic wrap and one layer of aluminum foil. Thaw overnight in the refrigerator before frosting. The frosting can also be frozen separately in an airtight container; let it thaw in the fridge and re-whip before using.
- Make-Ahead Strategy: The entire cake can be baked, frosted, and refrigerated 1 day ahead. In fact, the flavors meld and improve. Add fresh strawberry garnish just before serving. The unfrosted cake layer can be baked up to 2 days ahead and stored, well-wrapped, at room temperature.
- Serving Chilled: For the best texture and to keep the frosting firm, serve the cake directly from the refrigerator. Let individual slices sit at room temperature for 5-10 minutes before eating to soften slightly.
Frequently Asked Questions
Here are answers to the most common questions I receive about this recipe.
Q: Can I use frozen strawberries?
Yes, but with caution. Thaw frozen strawberries completely in a strainer over a bowl to catch all the excess liquid. Pat them very dry with paper towels before chopping.
You may need to reduce the buttermilk by a tablespoon or two to account for residual moisture.
Q: What can I use if I don’t have buttermilk?
Make an easy substitute: for 3/4 cup of buttermilk, place 2 teaspoons of white vinegar or lemon juice in a measuring cup and fill with whole milk to the 3/4 cup line. Stir and let it sit for 5-10 minutes until it thickens and curdles slightly.
Q: My frosting is too runny. How can I fix it?
This usually happens if the cream cheese or butter was too soft. Place the entire bowl of frosting in the refrigerator for 20-30 minutes to firm up, then re-whip it. You can also add a bit more powdered sugar, a quarter cup at a time.
Q: Can I make this cake in a different pan size?
For a two-layer cake, divide the batter between two greased and floured 9-inch round pans. Bake for 25-28 minutes. For a 10×15-inch jelly roll pan, reduce the baking time to 20-25 minutes for a thinner sheet cake.
Q: Why did my strawberries sink to the bottom?
This is likely because they weren’t tossed with cornstarch, or the batter was overmixed after adding them, breaking the protective starch coating. The cornstarch trick is essential for suspension.
Q: Is it necessary to use both baking powder and baking soda?
Yes, in this recipe it is. The baking powder provides the primary lift. The baking soda reacts with the acidic buttermilk and strawberries, creating additional bubbles for a lighter texture and helping the cake brown nicely.
Q: How do I get clean slices without tearing the cake?
For picture-perfect slices, dip a sharp knife in hot water and wipe it clean between each cut. The heat helps the knife glide smoothly through the frosting and cake.
Final Thoughts
This strawberry sheet cake is more than just a dessert; it’s a testament to how simple, quality ingredients can create something truly extraordinary. It delivers the nostalgic comfort of a classic sheet cake with the vibrant, fresh flavor of real strawberries. Whether you’re a seasoned baker or trying your first from-scratch cake, this recipe is designed to build your confidence and delight everyone who tries it.
The process is straightforward, the tips are tried-and-true, and the result is a beautiful, shareable treat that feels special. I hope this cake becomes a cherished part of your recipe collection, creating sweet memories for many gatherings to come. If you make it, I’d love to hear how it turned out!
Share your creation online and tag me, or leave a comment with your experience. Happy baking
Classic Strawberry Sheet Cake
Ingredients
Equipment
Method
- Preheat your oven to 350°F (175°C). Grease and flour a standard 9×13-inch metal baking pan, or line it with parchment paper for easy removal. In a large mixing bowl, whisk together the flour, sugar, baking powder, baking soda, and salt until thoroughly combined.
- In a separate medium bowl, whisk together the slightly cooled melted butter, buttermilk, eggs, and vanilla extract until smooth. Pour the wet ingredients into the dry ingredients. Using a spatula, gently fold the mixture together until just combined. A few small lumps are fine; overmixing leads to a tough cake.
- Take about 1/3 of the chopped strawberries and mash them into a rough puree with a fork. Toss them with the tablespoon of cornstarch. This helps thicken the juices so they don’t sink. Gently fold this strawberry-cornstarch mixture into the cake batter, creating a marbled, swirled effect.
- Pour the batter into your prepared pan and spread it evenly into the corners. Scatter the remaining chopped strawberries over the top of the batter. Bake for 28-32 minutes, or until a toothpick inserted into the center comes out clean or with a few moist crumbs.
- Let the cake cool completely in the pan on a wire rack before frosting. This is crucial—frosting a warm cake will melt the frosting and create a soggy layer. While it cools, prepare the frosting by beating together 8 oz of softened cream cheese, 1/2 cup of softened butter, 4 cups of powdered sugar, 1 tsp of vanilla, and 2-3 tbsp of strawberry puree (made from the remaining berries) until light and fluffy.
- Once the cake is completely cool, spread the strawberry cream cheese frosting evenly over the top. For a professional finish, use an offset spatula to create decorative swirls. Garnish with fresh strawberry slices. Slice, serve, and enjoy the perfect balance of sweet, tangy, and fruity flavors.


