
Vintage strawberry cake
There’s a certain magic to a vintage strawberry cake. It’s not just a dessert; it’s a memory on a plate. I’m not talking about a box mix dyed a shocking pink.
I’m talking about the real deal: a tender, moist layer cake that hums with the genuine, sun-ripened flavor of strawberries, kissed with a silky cream cheese frosting. This is the cake you make for birthdays, spring celebrations, or simply to turn an ordinary Sunday into something special. After years of testing in professional kitchens, I’ve refined a recipe that captures that classic, beloved taste with a foolproof method you can trust.
Let’s bake a cake that tastes like nostalgia.
This vintage strawberry cake stands out for all the right reasons. It’s the culmination of countless tests to achieve the perfect balance of flavor, texture, and simplicity.
- Authentic Strawberry Flavor: We use a reduced strawberry puree in both the cake and frosting, avoiding artificial extracts or gelatin for a true, fruity taste that’s bright and not overly sweet.
- Incredibly Moist & Tender Crumb: The combination of sour cream and careful mixing creates a cake that stays supremely moist for days, with a fine, soft texture that melts in your mouth.
- Professional-Grade Structure: Unlike some fruit-based cakes that can be gummy or dense, this recipe uses precise leavening and ingredient temperatures to ensure a light, perfectly risen layer every time.
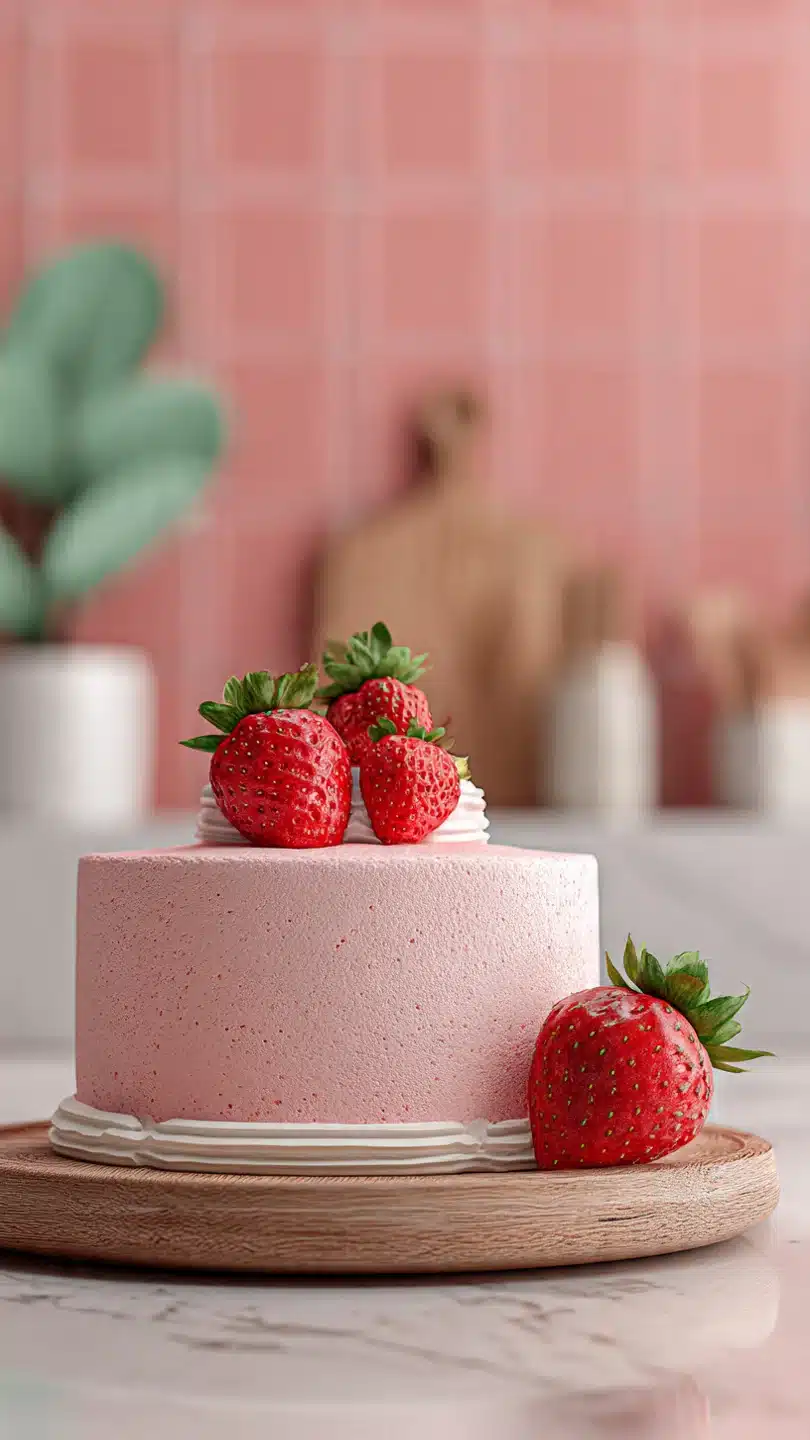
- Beautiful, Natural Presentation: The cake boasts a soft pink hue (enhanced just slightly, if you choose) and is finished with a lush frosting and fresh berries—it’s as stunning as it is delicious.
- Make-Ahead Friendly: Both the cake layers and the frosting can be prepared in advance, making assembly for a special event stress-free and simple.
Ingredients You’ll Need
- Let’s gather our ingredients. This recipe uses pantry staples transformed by one star: real strawberries. Using quality, room-temperature ingredients is non-negotiable for the perfect rise and texture, so plan ahead.
You’ll need fresh or frozen strawberries for the puree. Frozen work beautifully year-round and are often picked at peak ripeness. For the dairy—butter, eggs, sour cream, and milk—taking them out of the fridge an hour before you start is the single best thing you can do for your cake.
It allows for proper emulsification and aeration, which translates to a lighter crumb. I always use pure vanilla extract for its superior flavor. The optional drop of red food coloring is just to nudge the color toward a classic pink; the puree alone gives a lovely beige-pink tone.

Note: You’ll find the complete list of ingredients, along with their exact measurements, in the printable recipe card at the bottom of this post.
Kitchen Equipment Needed
You don’t need specialized gear, but a few key tools will make the process smoother. Two 8-inch round cake pans are ideal for nice, tall layers. A stand mixer or a sturdy hand mixer is essential for properly creaming the butter and sugar—the foundation of our cake’s texture.
You’ll also need a food processor or blender for the strawberry puree, wire cooling racks, parchment paper to guarantee easy release, and an offset spatula for effortlessly frosting your beautiful creation.
How to Make Vintage Strawberry Cake Recipe
Step 1: Prep and Puree
Begin by preheating your oven to 350°F (175°C) and preparing your pans. Greasing, flouring, and lining them with parchment paper is your insurance policy for flawless release. For the puree, hull your strawberries and blend them until completely smooth.
Trust me, you want no chunks here. If using frozen berries, thaw them first—the extra liquid is fine. You’ll need exactly one cup of puree for the batter, so make a little extra to account for reduction and for the frosting.
Step 2: Combine Dry Ingredients
In a medium bowl, whisk together your flour, baking powder, baking soda, and salt. This isn’t just mixing; it’s ensuring the leaveners are evenly distributed throughout the flour, which is critical for an even rise. I always recommend spooning the flour into your measuring cup and leveling it off to avoid accidentally using too much, which is a common cause of dry cake.
Step 3: Cream Butter and Sugar
This is where the magic starts. In your mixer bowl, beat the room-temperature butter and granulated sugar on medium-high speed for a full 3-4 minutes. Believe me, don’t rush this.
You’re looking for a mixture that is very pale in color and fluffy in texture. This step incorporates air, which acts as a leavening agent and gives the cake its lovely lightness.
Step 4: Build the Batter
With the mixer on low, add your room-temperature eggs one at a time, letting each fully incorporate before adding the next. It might look a bit curdled after adding the eggs—that’s perfectly normal. Mix in the vanilla and sour cream.
Now, add your dry ingredients and wet ingredients (the strawberry puree and milk) alternately, starting and ending with the dry ingredients. Tip from me: mix only until the last streak of flour disappears. Overmixing at this stage develops gluten and leads to toughness.
Step 5: Bake and Cool
Divide the batter evenly between your prepared pans. An easy trick is to weigh them on a kitchen scale for perfect layers. Bake for 28-32 minutes.
The cakes are done when they spring back lightly to the touch and a toothpick inserted into the center comes out clean. Let them cool in the pans for just 10 minutes before turning them out onto wire racks. Cooling completely before frosting is absolutely crucial—warm cake will melt your frosting into a sad puddle.
Step 6: Frost and Serve
While the cakes cool, prepare the frosting by beating together butter and cream cheese until smooth, then gradually adding powdered sugar, vanilla, and that reserved strawberry puree. Once your cakes are completely cool, place one layer on a serving plate, spread with frosting, top with the second layer, and frost the top and sides. Now comes the fun part: decorate with fresh strawberry halves or slices.
Step back and admire your beautiful, homemade vintage masterpiece before slicing.
A few chef-level insights will elevate your cake from good to exceptional.
- The Room Temperature Rule: This is the most important tip. Cold ingredients don’t emulsify or trap air properly. Your butter should give slightly when pressed, and eggs should feel neutral to the touch.
- Puree Consistency: If your strawberry puree seems very watery, you can simmer it in a small saucepan for 5-7 minutes to reduce and concentrate the flavor slightly. Let it cool completely before using.
- For an Ultra-Tender Crumb: Try the “reverse creaming” method. Whisk all your dry ingredients with the sugar first. Then beat in the room-temperature butter until the mixture looks like damp sand. Slowly beat in the wet ingredients. This coats the flour proteins in fat, minimizing gluten development for a supremely tender bite.
- Avoid Dome-Shaped Cakes: For perfectly flat layers (ideal for stacking), use bake-even strips—insulated fabric strips that wrap around the outside of the cake pan to slow the edge baking and promote even rising.
- Frosting Finesse: For sharp, clean sides on your frosted cake, do a “crumb coat.” Apply a very thin layer of frosting all over the cake and chill it for 15 minutes. This traps any loose crumbs. Then, apply your final, thick, beautiful layer of frosting.
Recipe Variations
- This classic recipe is wonderfully adaptable. Here are some tested variations to make it your own.
- Lemon-Strawberry: Add the zest of one lemon to the cake batter and use lemon juice instead of milk. Pair with a lemon cream cheese frosting for a vibrant, tangy twist.
- Strawberry Shortcake Style: Skip the layer frosting. Bake the cake, then split the layers and fill them with sweetened whipped cream and sliced fresh strawberries. Dust the top with powdered sugar.
- Almond Accent: Substitute 1/2 teaspoon of the vanilla extract with pure almond extract. Fold 1/2 cup of finely chopped toasted almonds into the batter for added texture and flavor.
- Dairy-Free/Vegan: Use plant-based butter, yogurt, and milk. For the eggs, a commercial egg replacer or flax eggs work best in this specific recipe. Use a vegan cream cheese alternative for the frosting.
- Gluten-Free: Substitute the all-purpose flour with a 1:1 gluten-free baking blend. I’ve had excellent results with brands that contain xanthan gum.
- Mini Cakes or Cupcakes: For cupcakes, fill liners 2/3 full and bake for 18-22 minutes. This recipe yields about 24 perfect cupcakes.
What to Serve With This Recipe
This vintage strawberry cake is a celebration centerpiece. For a classic afternoon tea, serve it with a pot of Earl Grey or a floral herbal tea. For a summer gathering, it pairs wonderfully with a glass of chilled Prosecco or a sparkling strawberry lemonade.
If you’re building a dessert table, consider lighter accompaniments like fresh fruit salad, a small cheese board, or vanilla bean ice cream on the side. It’s perfect for birthdays, Mother’s Day, bridal showers, or as the sweet finale to a spring or summer dinner party.
Storage & Make-Ahead Instructions
- Proper storage ensures every slice is as good as the first.
- Short-Term Storage: Once frosted, store the cake in an airtight cake carrier or under a cake dome in the refrigerator for up to 5 days. The frosting will firm up when chilled.
- Freezing for Later: Unfrosted cake layers freeze exceptionally well. Wrap each cooled layer tightly in plastic wrap, then in aluminum foil. Freeze for up to 3 months. Thaw overnight in the refrigerator before frosting. You can also freeze the frosting in a separate container.
- Serving Tip: Always let refrigerated cake slices sit at room temperature for 30-45 minutes before serving. This allows the cake to soften and the flavors to bloom fully.
- Make-Ahead Strategy: Bake and freeze the layers up to a month in advance. The frosting can be made 2-3 days ahead and stored in the fridge; let it come to room temperature and re-whip briefly before using. Assemble the cake the day you plan to serve it for the freshest presentation.
Frequently Asked Questions
Q: Can I use strawberry jam or preserves instead of fresh puree?
A: I don’t recommend it. Jam is already cooked with sugar and pectin, which will alter the texture and sweetness of the cake unpredictably. The reduced puree method gives you control and a fresher, brighter flavor.
Q: My puree is very seedy. Should I strain it?
A: That’s a personal preference. The tiny seeds add authenticity and a bit of texture. If you prefer a completely smooth cake, feel free to press the puree through a fine-mesh sieve.
You may need to start with more strawberries to yield 1 cup of strained puree.
Q: Why did my cake layers sink in the middle?
A: This is usually due to underbaking, opening the oven door too early (before the structure has set), or an issue with leavening (old baking powder/soda). Ensure your oven is properly preheated and test for doneness with a toothpick.
Q: Can I make this in a 9×13 inch pan?
A: Absolutely. Pour the batter into a greased and floured 9×13 pan. The bake time will be slightly longer, around 35-40 minutes.
Test for doneness in the center.
Q: My frosting is too soft to pipe. How can I fix it?
A: Cream cheese frosting is naturally softer than buttercream. For better piping consistency, ensure your butter and cream cheese are just at room temperature, not warm. Chill the mixed frosting for 20-30 minutes before piping.
You can also add a bit more sifted powdered sugar, a 1/4 cup at a time.
Q: Can I use freeze-dried strawberry powder?
A: Yes, for an intense color and flavor boost! Replace 2 tablespoons of the flour with 1/4 cup of finely ground freeze-dried strawberry powder. You’ll still want to use the liquid puree in the batter for moisture.
Q: How do I get my layers perfectly level for stacking?
A: If your cakes have a slight dome, use a long serrated knife to carefully slice off the rounded top once they are completely cool. This creates a flat surface for stacking and prevents a lopsided cake.
Final Thoughts
This vintage strawberry cake is more than a recipe; it’s a testament to the power of real ingredients and thoughtful technique. It proves that a from-scratch layer cake, infused with the genuine taste of fruit, is within reach for any home baker. The process of creating it—from whirring strawberries into a puree to spreading on that final swirl of frosting—is as rewarding as the first delicious bite.
I hope this cake becomes a cherished recipe in your home, creating its own set of sweet memories for years to come. If you give it a try, I’d love to hear how it turned out! Share your creation online and tag me, or leave a rating below.
Happy baking
Vintage Strawberry Cake
Ingredients
Equipment
Method
- Preheat oven to 350°F (175°C). Grease and flour two 8-inch round cake pans and line the bottoms with parchment paper. To make the strawberry puree, blend 1 1/2 cups of hulled strawberries (fresh or thawed frozen) in a food processor or blender until completely smooth. You should have about 1 cup of puree. Set aside.
- In a medium bowl, whisk together the flour, baking powder, baking soda, and salt. In the bowl of a stand mixer fitted with the paddle attachment, beat the room-temperature butter and sugar on medium-high speed for 3-4 minutes until light and fluffy. Scrape down the bowl.
- With the mixer on low, add the eggs one at a time, beating well after each addition. Beat in the vanilla extract. The mixture may look slightly curdled; this is normal. Add the sour cream and mix until just combined.
- Add the dry ingredients in three parts, alternating with the strawberry puree and milk, beginning and ending with the dry ingredients. Mix on low speed until just combined after each addition. Do not overmix. If using, stir in 1-2 drops of red food coloring for a soft pink color.
- Divide the batter evenly between the prepared pans. Bake for 28-32 minutes, or until a toothpick inserted into the center comes out clean. Let the cakes cool in the pans for 10 minutes, then turn out onto a wire rack to cool completely before frosting.
- For the frosting, beat 1 cup (2 sticks) of room-temperature unsalted butter with 8 oz of room-temperature cream cheese until smooth. Gradually add 4 cups of sifted powdered sugar, 1 tsp of vanilla, and 1/4 cup of the reserved strawberry puree. Beat until light and fluffy. Frost the cooled cake layers.


