
soup board ideas
There’s something deeply comforting about a steaming bowl of soup, but serving it can sometimes feel… predictable. What if you could transform that cozy staple into the dazzling centerpiece of your next gathering? Enter the soup board: an interactive, visually stunning, and endlessly customizable way to serve soup that turns a simple meal into a memorable experience.
Imagine a beautiful wooden platter laden with pots of fragrant soup, surrounded by little bowls of crispy toppings, fresh herbs, rich cheeses, and an array of breads for dipping. It’s part charcuterie board, part soup bar, and entirely delightful. As a chef who has planned countless menus, I love how this concept invites everyone to play with their food, creating a bowl that’s perfectly suited to their taste.
Let’s dive into the art of building a soup board that’s as beautiful as it is delicious.
- Interactive & Social: It’s a fantastic conversation starter and gets guests involved in creating their own meal, perfect for casual entertaining.
- Totally Customizable: Accommodates various dietary needs and preferences effortlessly—gluten-free, vegetarian, or dairy-free options can easily be included.
- Minimal Last-Minute Work: Almost everything can be prepped ahead of time. When guests arrive, you simply warm the soups and arrange the board.
- Visually Impressive: The abundance and variety create a “wow” factor that belies how simple it is to assemble.
- Perfect for Any Occasion: Equally suited for a festive holiday party, a cozy game night, or a simple family dinner that feels special.
- Maximizes Flavor: Letting guests layer textures and tastes—creamy, crunchy, fresh, spicy—elevates every spoonful beyond a standard bowl of soup.
Ingredients You’ll Need
Think of building your soup board in four key categories: the soup foundation, the toppings and garnishes, the breads and dippers, and a little something extra. You don’t need everything listed here—this is a palette to inspire your own creation. Start with 2-3 soups and 6-8 topping options for a well-rounded board.
For the Soup (Choose 2-3 contrasting types):- Creamy & Rich: Think roasted tomato bisque, creamy wild mushroom, potato leek, or a silky butternut squash.
- Brothy & Savory: A classic chicken noodle, Italian wedding soup, miso soup with tofu, or a fragrant pho-inspired broth.
- Hearty & Chunky: A robust lentil soup, chili con carne, minestrone, or a beef and vegetable stew.
- Fresh Herbs: Chopped parsley, cilantro, dill, chives, or basil.
- Creamy Elements: Sour cream, crème fraîche, plain Greek yogurt, or avocado slices.
- Cheeses: Crumbled feta or blue cheese, shredded cheddar, Parmesan crisps, or grated Pecorino.
- Crunchy Textures: Toasted nuts (pepitas, almonds), croutons, fried shallots, tortilla strips, or bacon bits.
- Aromatic & Spicy: Minced garlic in oil, sliced jalapeños, chili crisp, pickled red onions, or a drizzle of flavored oil.
- Proteins (optional): Shredded rotisserie chicken, cooked sausage, crispy chickpeas, or hard-boiled eggs.
- Crusty Breads: Baguette slices, sourdough, or ciabatta for dipping and soaking up broth.
- Soft Breads: Warm dinner rolls, cornbread, or naan.
- Crackers & Crisps: Breadsticks, assorted crackers, or lavash.
- Compound Butters: Garlic-herb, lemon-thyme, or chili-honey butter to melt on hot bread or swirl into soup.
- Specialty Salts: Smoked sea salt or truffle salt for a finishing touch.

Note: You’ll find the complete list of ingredients, along with their exact measurements, in the printable recipe card at the bottom of this post.
Kitchen Equipment Needed
You likely have most of these items already. The key is choosing vessels that keep food at safe temperatures and fit aesthetically on your board.
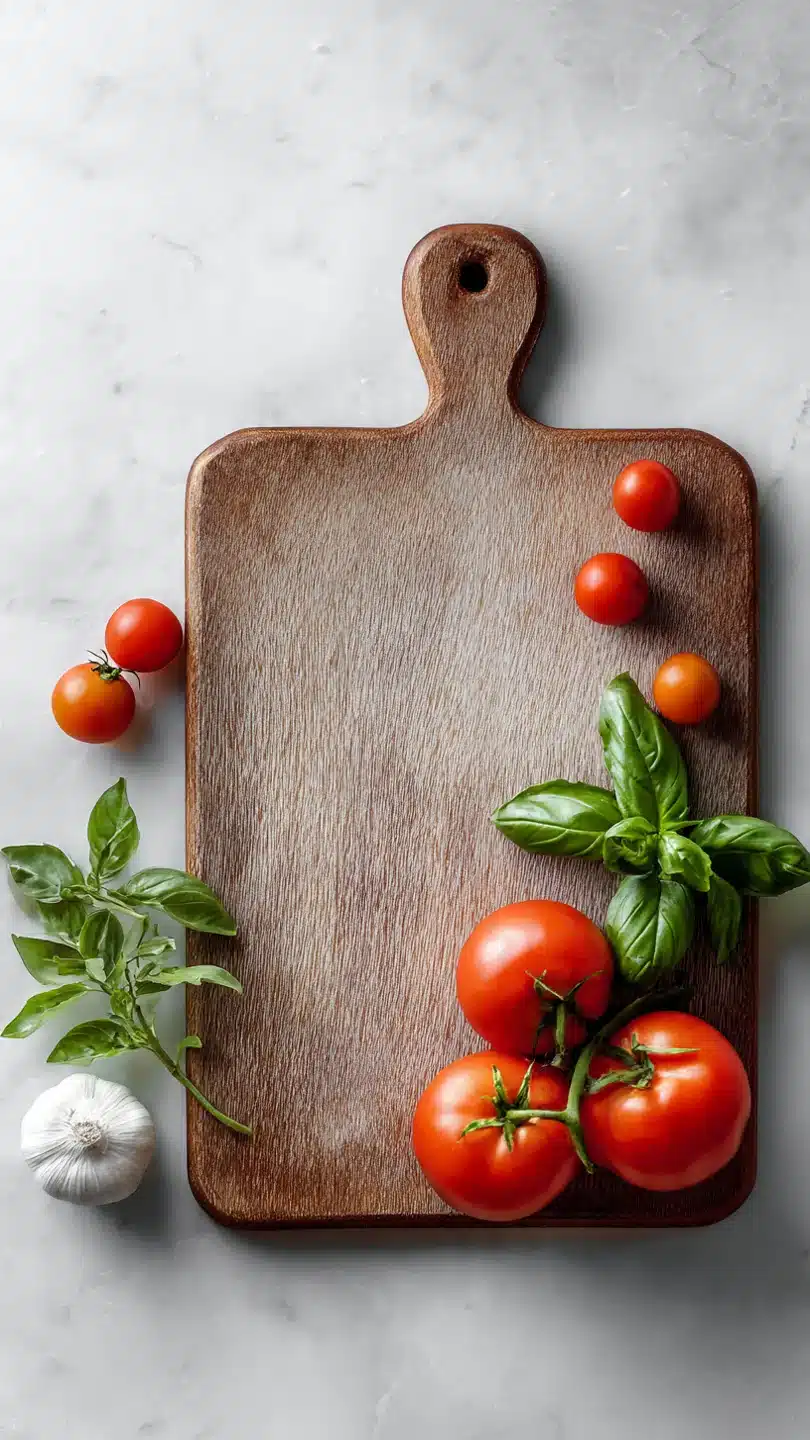
- The Board Itself: A large wooden cutting board, a marble slab, a slate cheese board, or even a clean piece of weathered wood. Aim for at least 24×18 inches to have ample space.
- Soup Vessels: 2-3 small ceramic pots, mini Dutch ovens, or fondue pots. My professional tip: Slow cookers set to “warm” are perfect for keeping soup hot for hours without scorching. Place them directly on the board or on trivets nearby.
- Small Serving Bowls: A collection of ramekins, small bowls, or even teacups for holding all the toppings. Using varied but complementary dishes adds visual interest.
- Utensils: A ladle for each soup, small spoons or forks for the toppings, and a butter knife for any spreads.
- Extras (Optional but Helpful): Small labels for soups and toppings, trivets to protect your board from hot pots, and a small ice bath (a bowl nested in a larger bowl of ice) to keep cold toppings like sour cream chilled.
How to Make a Soup Board Recipe
Step 1: Choose and Prepare Your Soups
This is your foundation. Trust me, choosing soups with contrasting colors, textures, and flavors makes the board infinitely more interesting. Prepare your 2-3 soup recipes ahead of time.
A creamy white soup like potato leek looks stunning next to a vibrant red roasted tomato or a deep green split pea. Keep them warm on the stove until you’re ready to assemble, or transfer them to your chosen warm-holding vessels.
Step 2: Prep All Toppings and Components
While your soups simmer, this is your mise en place moment. Chop all herbs, crumble cheeses, cook off any bacon, toast nuts, and slice breads. Arrange each topping in its own small bowl.
Believe me, this organization is what makes assembly so quick and stress-free later. It also keeps your board looking tidy and intentional, rather than chaotic.
Step 3: Map Out Your Board Layout
Before you place anything, do a quick dry run. Place your empty soup pots on the board first, spacing them out. Tip from me: Put heavier, messier items like the soup pots and bowls of wet toppings (like olives or pickles) toward the center.
This creates a natural focal point and contains any potential drips. Then, mentally zone areas for bread, crunchy toppings, and fresh herbs.
Step 4: Assemble with Intention
Now for the fun part! Place your warm soup pots on their designated spots. Begin filling in the space around them with the bowls of toppings.
Group similar items together—all the cheeses in one area, all the crunchy elements in another. This creates visual rhythm. Tuck slices of bread and breadsticks in any gaps, letting them spill over the edges for a casual, abundant feel.
Step 5: Add Final Touches and Serve
Step back and admire your creation. Add the final artistic touches: a sprig of fresh rosemary tucked by the bread, a lemon wedge for squeezing, a small bowl of flaky sea salt. Provide a ladle for each soup and serving utensils for every topping.
Then, simply invite everyone to gather round, build their perfect bowl, and enjoy the interactive feast you’ve created.
- Temperature is Key: This is the most important technical point. Hot food must stay hot (above 140°F), and cold food must stay cold (below 40°F). Use slow cookers, chafing dishes, or insulated servers for soups. For cold toppings like sour cream, nestle their bowl in a larger bowl filled with ice.
- The Power of Contrast: When selecting components, think about opposing textures and flavors for every bite. A smooth, creamy soup is fantastic with a crunchy bacon bit and a fresh, sharp herb.
- Strategic Placement: Put the most frequently used toppings—like shredded cheese and croutons—at the front or in easily accessible spots. Place drippy items (pickled onions, olive oil) in the center to avoid messes on the tablecloth.
- Label Thoughtfully: If you’re serving a crowd or have unique ingredients, small chalkboard signs or simple tags are a thoughtful touch that prevents the constant “What’s in this?” question.
- Embrace Negative Space: Don’t feel you need to cover every inch of the board. Some empty space makes the arrangement look curated, not crowded, and allows guests to easily access items.
Recipe Variations & Customizations
- Themed Soup Boards: Carry a theme through all your choices. For a Mexican Fiesta Board, serve tortilla soup and chicken chili with toppings like lime wedges, cilantro, diced avocado, cotija cheese, tortilla chips, and jalapeños.
- Vegetarian/Vegan Board: Focus on plant-based soups like lentil, minestrone, or roasted carrot ginger. Use toppings like spiced pepitas, coconut yogurt, vegan Parmesan, and crispy roasted chickpeas.
- Holiday Party Board: Opt for elegant, rich soups like lobster bisque and wild mushroom. Surround with sophisticated toppings: caviar or smoked salmon, chive crème fraîche, blini or puff pastry twists, and champagne vinegar pickled vegetables.
- Breakfast for Dinner Board: Serve a creamy tomato soup and a hearty potato cheese soup. Offer dippers like grilled cheese sandwich triangles, bacon strips, and soft pretzel bites. Top with everything bagel seasoning!
- Low-Carb/Keto Board: Choose brothy soups and chunky stews without starchy thickeners. Offer an array of crunchy vegetable “dippers” like bell pepper strips, cucumber rounds, and celery, along with high-fat toppings like grated cheese, avocado, and olive oil.
What to Serve With This Recipe
A soup board is often a complete meal in itself, but it can be part of a larger spread. For a light lunch or starter, the board alone is perfect. For a more substantial dinner party, consider beginning with a simple green salad with a bright vinaigrette to cleanse the palate between different soup flavors.
If you’re serving particularly rich soups, a platter of crisp, raw vegetables can provide a refreshing counterpoint. Beverage pairings are flexible: a crisp white wine like Sauvignon Blanc pairs well with creamy vegetable soups, a light red like Pinot Noir complements tomato-based soups, and for a non-alcoholic option, sparkling water with citrus or a warm mulled cider are always crowd-pleasers.
Storage & Make-Ahead Instructions
The beauty of this concept is its make-ahead friendliness.
- Soups: Nearly all soups freeze beautifully for up to 3 months or can be refrigerated for 3-4 days. Reheat gently on the stovetop before serving.
- Toppings: Chop herbs, cook proteins, toast nuts, and make compound butters 1-2 days in advance. Store each in separate airtight containers in the fridge.
- Breads: Slice breads and store in bags at room temperature the day before. You can refresh them in a warm oven for 5 minutes before serving if desired.
- Assembly: The full board should be assembled no more than 30 minutes before serving to ensure food safety and optimal texture (no soggy crackers or wilted herbs).
- Leftovers: Store all components separately. Soups can be reheated. Toppings like cheeses, herbs, and chopped vegetables are best used within 2-3 days.
Frequently Asked Questions
Q: How many soup options do I really need?
A: Two is perfect for most gatherings, three is luxurious. More than three can overwhelm the board and your guests. Focus on quality and contrast over quantity.
Q: Can I make a soup board for a large crowd (20+ people)?
A: Absolutely. Instead of one giant board, create multiple smaller, identical stations. This prevents a traffic jam and ensures everyone can access everything easily.
Use large slow cookers for the soup and buffet-style bowls for toppings.
Q: What are the best soups for a make-ahead board?
A: Soups that taste better the next day and reheat well are ideal. Think chili, lentil soup, most pureed vegetable soups (butternut, tomato), and stews. Avoid soups with delicate pasta or seafood until just before serving.
Q: How do I keep bread from getting soggy on the board?
A: Place breads and crackers in their own baskets or on small plates beside the main board, or tuck them into a dry area away from any soup pots or damp toppings. You can also replenish them throughout the event.
Q: Is this kid-friendly?
A: It’s fantastic for kids! They love the autonomy of building their own bowl. Include familiar, mild soups and fun toppings like goldfish crackers, mini meatballs, or cheese cubes.
Q: What’s a good gluten-free option for dippers?
A: Offer gluten-free crackers, corn tortilla chips, or baked sweet potato rounds. You can also include hearty vegetable sticks like carrot and celery for dipping into creamy soups.
Q: My kitchen is small. Can I still do this?
A: Yes! Use your stovetop as a “soup station” with the pots kept warm on low heat. Arrange the toppings and breads on a board or even a large tray on your kitchen table or island.
The interactive spirit remains the same.
Final Thoughts
A soup board is more than just a way to serve dinner; it’s an experience. It transforms a simple, comforting meal into a shared, interactive event that delights the eyes as much as the palate. From my years in professional kitchens, I know the magic often lies in presentation and choice.
This concept delivers both with minimal fuss. Whether you’re hosting a holiday party, having friends over for a casual night, or just wanting to make a weeknight meal feel special, I encourage you to give it a try. Play with flavors, textures, and colors.
Most importantly, have fun with it—the best boards always reflect a bit of your own personality. I’d love to hear about your soup board creations! Tag me on social media or leave a comment below with your favorite soup and topping combinations.
Now, go gather your bowls and get building
Build-Your-Own Soup Board
Ingredients
Equipment
Method
- Prepare 2-3 different soups of your choice. Aim for a variety in texture and flavor profile (e.g., one creamy, one brothy, one chunky). Keep them warm in slow cookers, fondue pots, or insulated serving bowls on the board.
- While soups are warming, prepare all your toppings and garnishes. Chop herbs, crumble cheeses, cook any proteins like bacon, and arrange everything in small bowls or ramekins for a tidy, organized look.


