
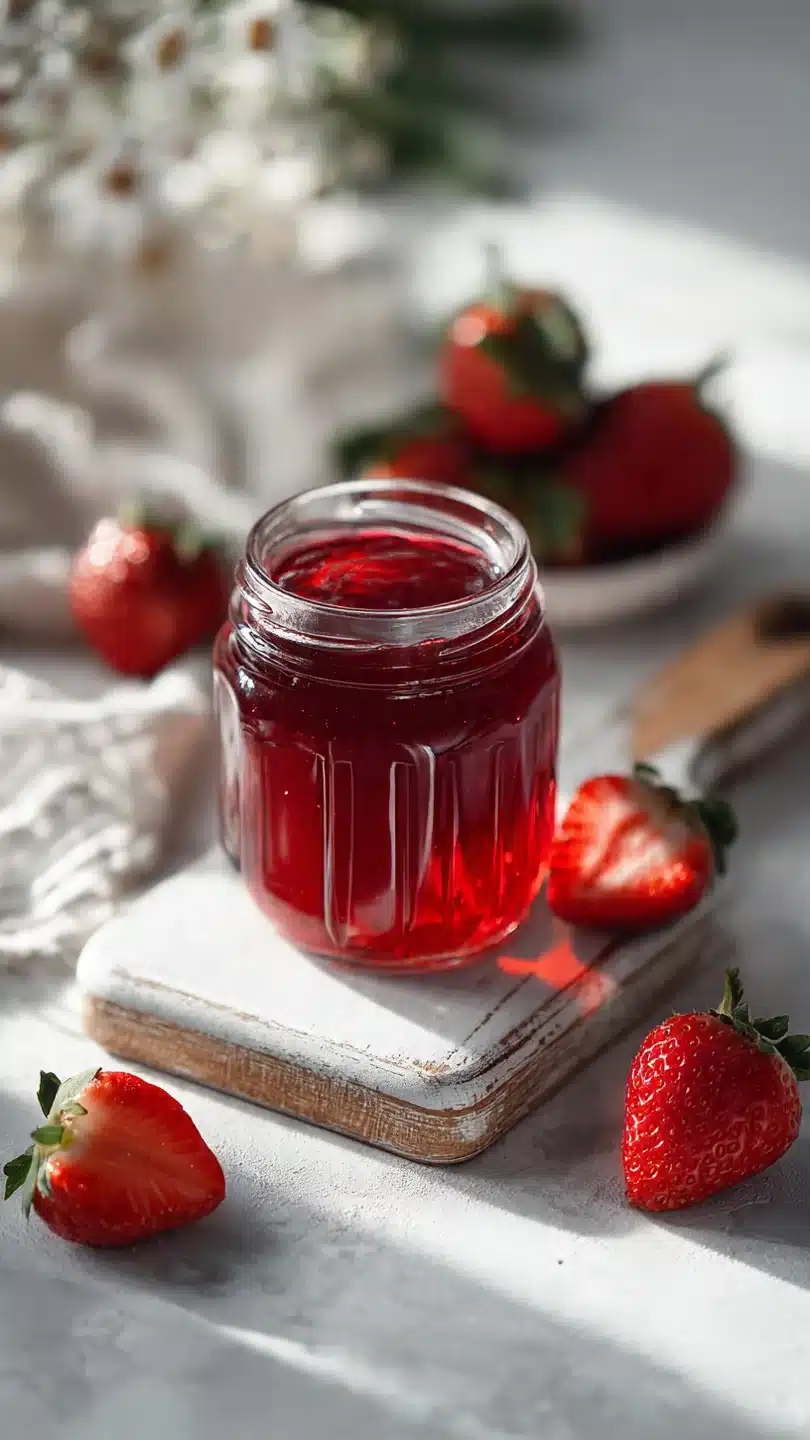
BEST Strawberry Jam
- Fresh Flavor: This jam captures the essence of ripe strawberries at their peak.
- Customizable: Adjust the sweetness to your preference or dietary needs.
- Easy Preservation: With clear instructions, you’ll master the art of canning.
- Versatile Use: Perfect for spreading on toast, topping desserts, or gifting.
- Seasonal Delight: Make the most of strawberry season and enjoy it year-round.
Ingredients You’ll Need
Let’s gather our ingredients—these simple pantry staples create magic together when combined with fresh strawberries.
- Fresh strawberries: The star of the show, choose ripe but firm berries for the best results.
- Granulated sugar: This helps preserve the jam and enhances the fruit’s flavor. You can adjust the amount to suit your taste.
- Lemon juice: Adds a touch of acidity to balance the sweetness and aid in preservation.
- Pectin: Optional, but useful if you prefer a thicker jam consistency.
For the best flavor, select strawberries that are bright red and fragrant. If you can’t find fresh, frozen strawberries work well too—just thaw them before use.

Note: You’ll find the complete list of ingredients, along with their exact measurements, in the printable recipe card at the bottom of this post.
Kitchen Equipment Needed
To make this jam, you’ll need a few essential tools:
- Large pot for cooking the jam
- Sterilized jars with lids for storage
- Canning tongs and jar lifter for safe handling
- Chilled plate for testing jam thickness
If you don’t have canning tongs, regular kitchen tongs can work, but be careful when handling hot jars.
How to Make BEST Strawberry Jam Recipe
Step 1: Prepare the Strawberries
Start by hulling and quartering your strawberries. In a large pot, combine them with sugar and lemon juice. Let this mixture sit for about 30 minutes to macerate.
This step helps the strawberries release their juices, intensifying the flavor. Trust me, this makes a big difference in the final taste of your jam.
Step 2: Cook the Jam
Place the pot over medium heat and bring the mixture to a simmer. Stir occasionally to prevent sticking. If you’re using pectin for a thicker jam, add it now and stir until dissolved.
Believe me, this is the point where your kitchen will start to smell amazing!
Step 3: Thicken the Jam
Continue cooking the jam, stirring frequently, until it thickens. This should take about 20-30 minutes. To test for doneness, place a small amount of jam on a chilled plate; if it wrinkles when pushed, it’s ready.
Tip from me: don’t rush this step—patience is key for the perfect consistency.
Step 4: Skim and Cool
Remove the pot from heat and let the jam cool slightly. Skim off any foam that has formed on the surface. Now comes the fun part—watching your jam transform into a glossy, spreadable delight!
Step 5: Jar and Preserve and Serve
Ladle the hot jam into sterilized jars, leaving about 1/4 inch of headspace. Seal the jars tightly and process in a boiling water bath for 10 minutes to ensure proper preservation. Step back and admire your beautiful jars of homemade strawberry jam.
Serve it on your favorite bread or use it to elevate your desserts.
Pro tip: Always use a large pot when making jam to prevent boil-overs. The jam can bubble up significantly as it cooks. Temperature matters: Use a candy thermometer to monitor the jam’s temperature. It should reach around 220°F (104°C) for proper setting. Visual cues: Look for the jam to coat the back of a spoon without dripping off. This indicates it’s nearing the right consistency. Common mistake: Overcooking can lead to a jam that’s too thick and loses its fresh flavor. Keep a close eye on it during the final stages.Recipe Variations & Customizations
- Reduced Sugar: For a less sweet jam, reduce the sugar to 3/4 cup and increase the lemon juice to 3 tablespoons. This creates a more tart, fruit-forward flavor.
What to Serve With This Recipe
Strawberry jam is incredibly versatile. Spread it on toast or scones for a classic breakfast treat. It’s also perfect as a topping for yogurt, oatmeal, or ice cream.
For a more savory pairing, try it with cheese and crackers. Serve it at brunches, picnics, or as a thoughtful homemade gift.
Storage & Make-Ahead Instructions
- Store your jars of strawberry jam in a cool, dark place for up to a year. Once opened, keep the jam in the refrigerator and use within a month. For make-ahead convenience, you can prepare the jam up to the point of canning and store it in the fridge for up to a week before processing. Always check for signs of spoilage before consuming.
Nutritional Benefits
- Strawberries are packed with vitamin C and antioxidants, making this jam a nutritious spread option. With only 45 calories per serving, it’s a lighter alternative to many store-bought jams. The natural sweetness of the fruit means you can use less added sugar, keeping the jam healthier.
Frequently Asked Questions
Q: Can I make this jam without pectin?
Yes, you can make jam without pectin. It will be a bit runnier but still delicious. The lemon juice helps with natural setting.
Q: How long does the jam last after opening?
Once opened, store the jam in the refrigerator and use within a month for the best quality and safety.
Q: Can I use frozen strawberries?
Absolutely! Thaw frozen strawberries before using them in the recipe. They work just as well as fresh ones.
Q: How can I tell when the jam is done?
Use the chilled plate test: place a small amount of jam on a cold plate. If it wrinkles when pushed, it’s ready.
Q: Can I reduce the sugar in the recipe?
Yes, you can reduce the sugar, but it may affect the jam’s shelf life and texture. Start with 3/4 cup and adjust to taste.
Q: Is this recipe suitable for canning?
Yes, this recipe is designed for canning. Follow the instructions for processing in a boiling water bath to ensure safe preservation.
Q: What if my jam is too runny?
If your jam is too runny, you can reboil it with a bit more pectin or cook it longer to thicken. Be careful not to overcook.
Recipe Origin or History
Strawberry jam has been a beloved preserve for centuries, with roots in both European and American traditions. Originally, jams were made as a way to preserve the abundance of summer fruits for year-round enjoyment. This recipe combines classic techniques with modern adjustments for taste and ease of preparation.
Final Thoughts
This BEST Strawberry Jam recipe is a celebration of the vibrant flavors of fresh strawberries. With professional tips and tested variations, you’re equipped to create a delicious, customizable jam that’s perfect for any occasion. Give it a try and enjoy the satisfaction of homemade preserves.
We’d love to hear your feedback and see your creations—share them on social media and rate the recipe. Happy jamming!
BEST Strawberry Jam
Ingredients
Equipment
Method
- In a large pot, combine the strawberries, sugar, and lemon juice. Let the mixture sit for about 30 minutes to macerate, allowing the strawberries to release their juices.
- Place the pot over medium heat and bring the mixture to a simmer. Stir occasionally to prevent sticking. If using pectin, add it now and stir until dissolved.
- Continue cooking the jam, stirring frequently, until it thickens. This should take about 20-30 minutes. To test for doneness, place a small amount of jam on a chilled plate; if it wrinkles when pushed, it’s ready.
- Remove the pot from heat and let the jam cool slightly. Skim off any foam that has formed on the surface.
- Ladle the hot jam into sterilized jars, leaving about 1/4 inch of headspace. Seal the jars tightly and process in a boiling water bath for 10 minutes to ensure proper preservation.
